Window Boxes 101: A Guide to Selecting and Filling Flower Boxes for Instant Curb Appeal
A heartfelt thank you to my friends at Hooks & Lattice for sponsoring this post!
Hooks & Lattice “Prestige” window box with integrated reservoir system. Photo courtesy of Contained Creations.
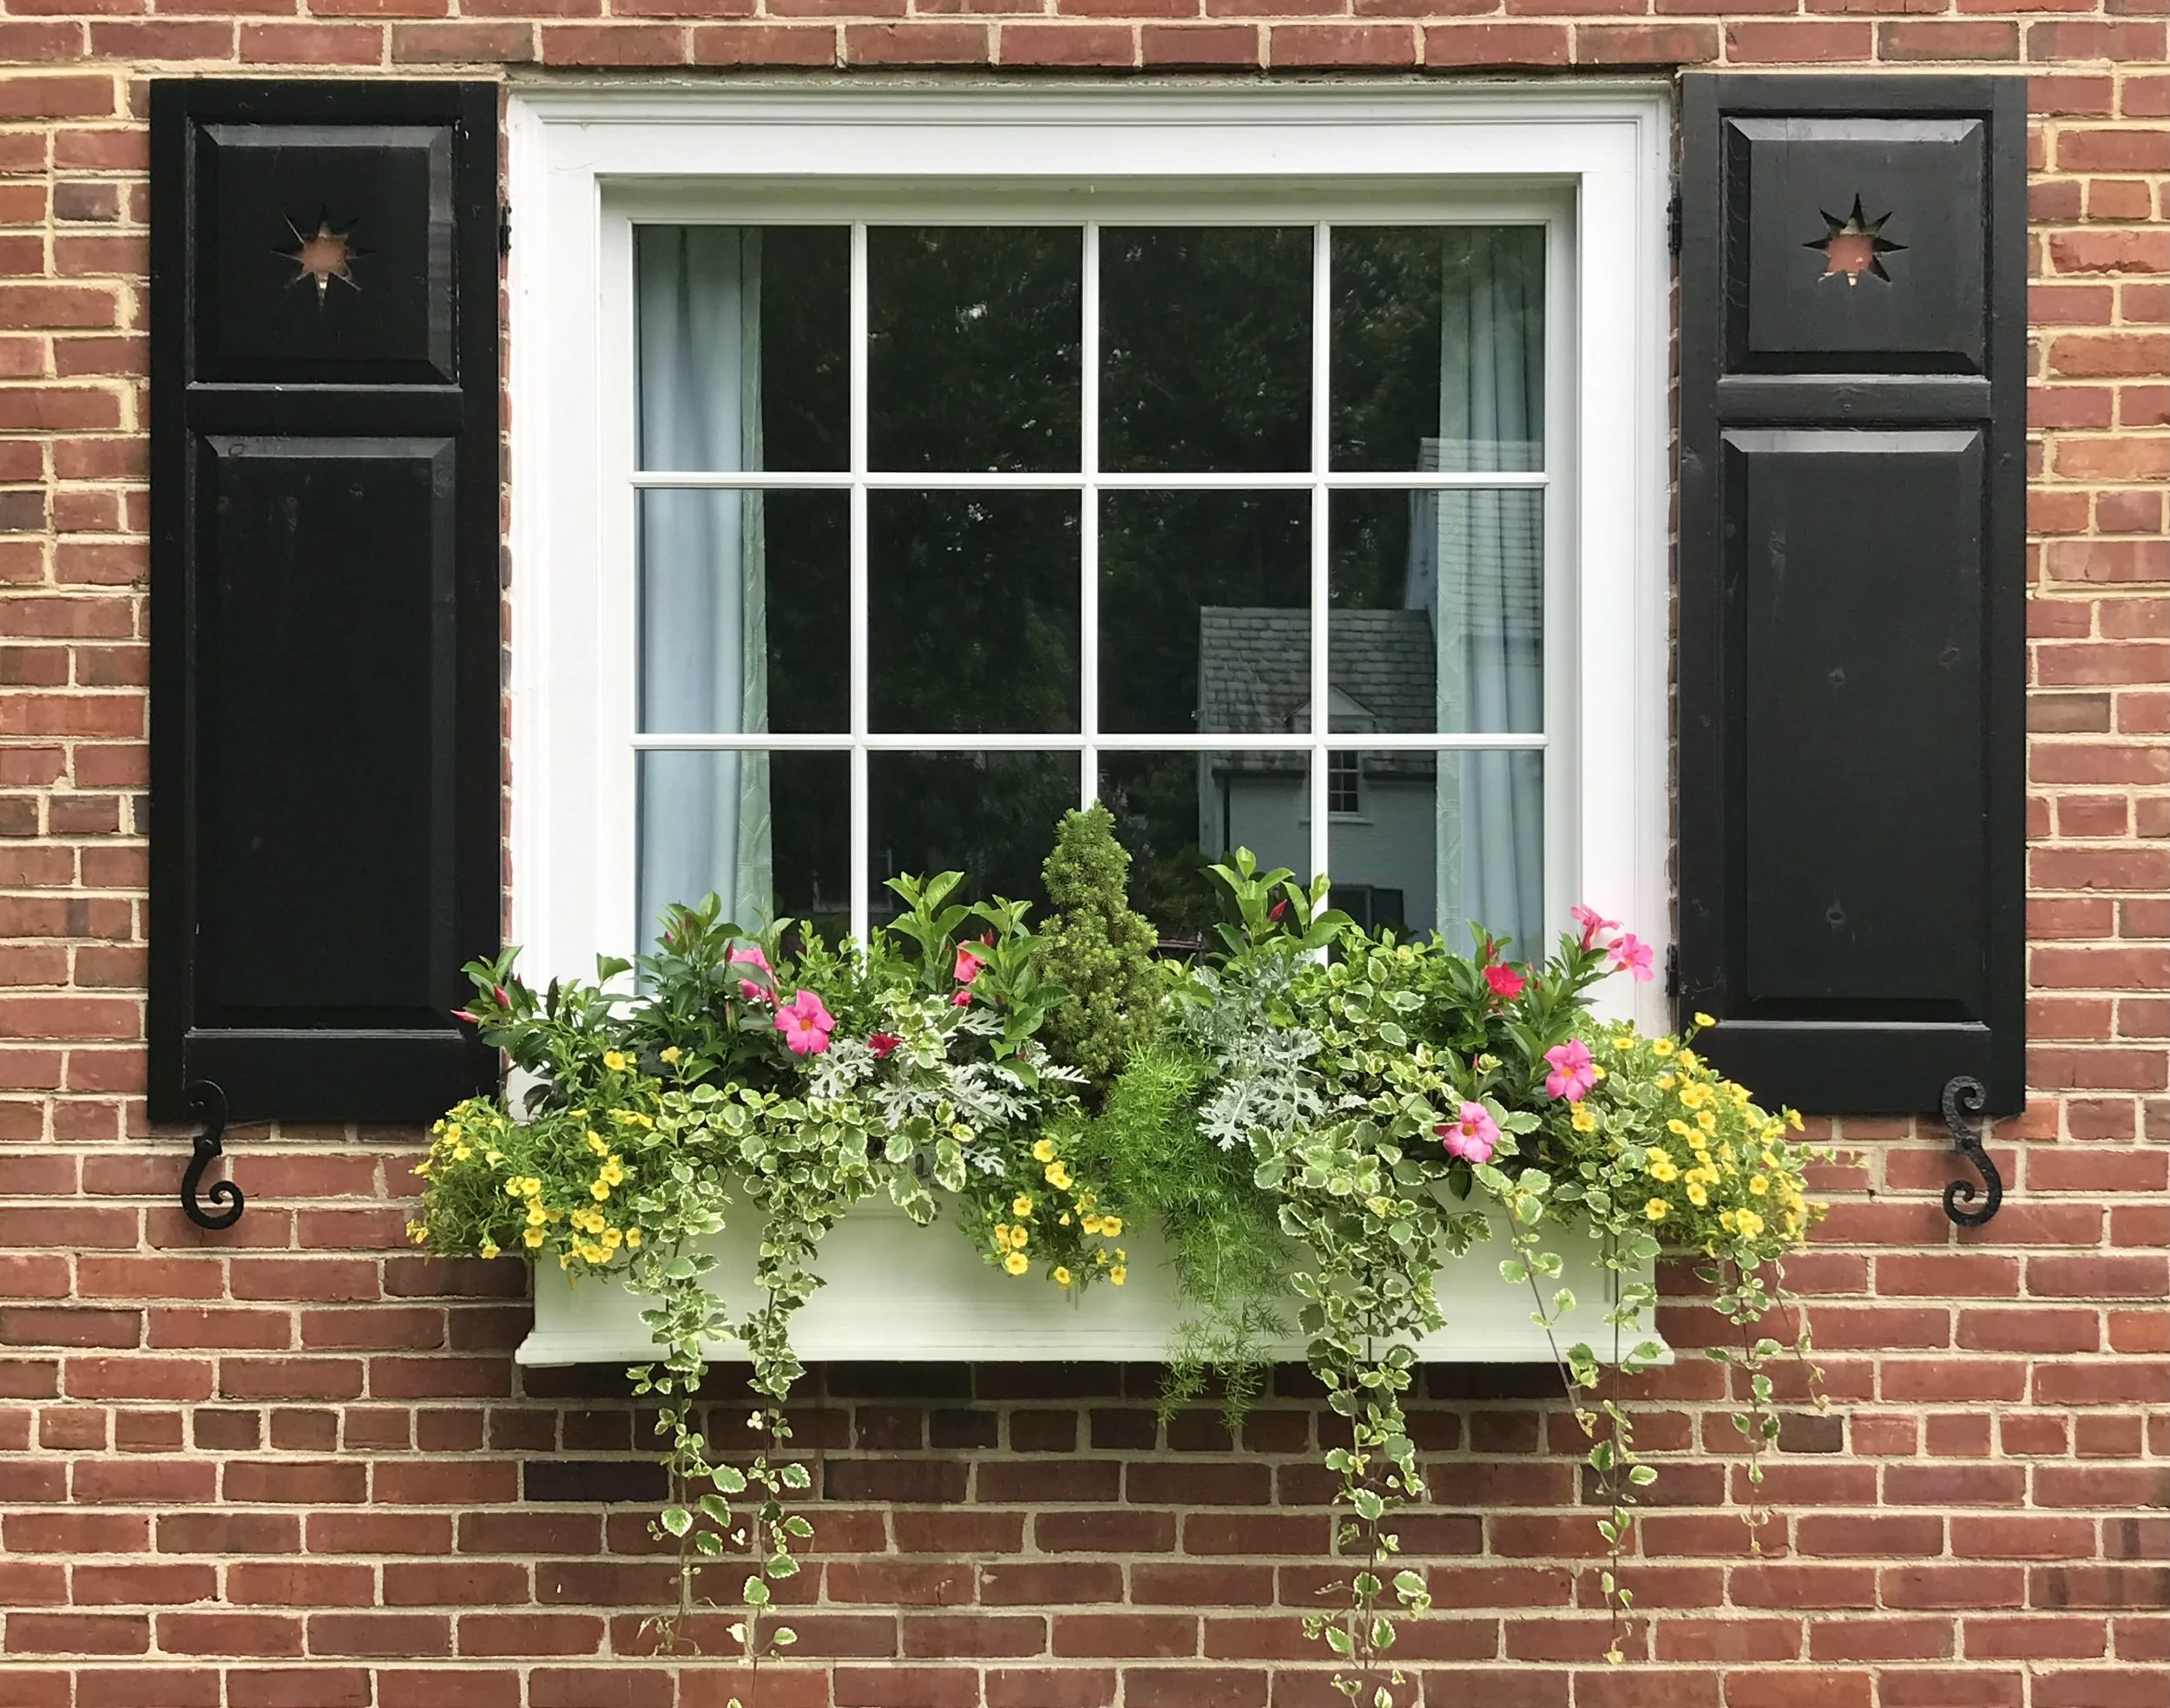
Looking for a way to add irresistible charm and curb appeal to your home? Try window boxes! When brimming with flowers, lush leaves, and trailing vines, they welcome us, our guests, and even passersby with an unexpected splash of color and beauty.
If you’ve had the pleasure of walking the streets of Charleston, Old Town Alexandria, or Boston’s Beacon Hill, you’ve probably seen more than a few stunning flower boxes on the windows of homes and businesses alike. When done properly, they make you smile and take your breath away.
Luckily, you don’t have to live in a certain zip code or a mansion to add this touch of character to your exterior! In fact, you don’t even need a window to get this look; a railing, fence, gate, or wall will do.
Read on for tips to select the best window box to suit your exterior, then use the FREE template, included at the end of this post, to fill your boxes with plants that will make your neighbors swoon!
How to Choose the Right Window Box
There are few enhancements you can make to your exterior that have such a big impact for a relatively small investment. You don’t have to address every single window — even just one, well-done box beneath a lone window near a high traffic area can create an irresistible focal point.
Window boxes can also solve several gardening dilemmas, like beautifying small spaces where there is otherwise no dirt for planting — an apartment balcony or the side of a building adjacent to the sidewalk or street. They can be installed on the first floor or several stories above, and depending on their placement, they can even be enjoyed from indoors as you look outside!
Keep these things in mind before you shop:
PICK THE right spot
Choose a location on your exterior that you can reach easily enough to do the following tasks safely and successfully: Hang, Plant, Water, Trim, Fertilize, and Replant (next season). This takes some effort on your part, which is why it’s so important to choose an accessible spot that works for you.
Boxes should be level, stable, and well maintained. Remember that the planting process can be messy, so consider how you would transport potting mix and plants through your home if the window box needs to be accessed from inside.
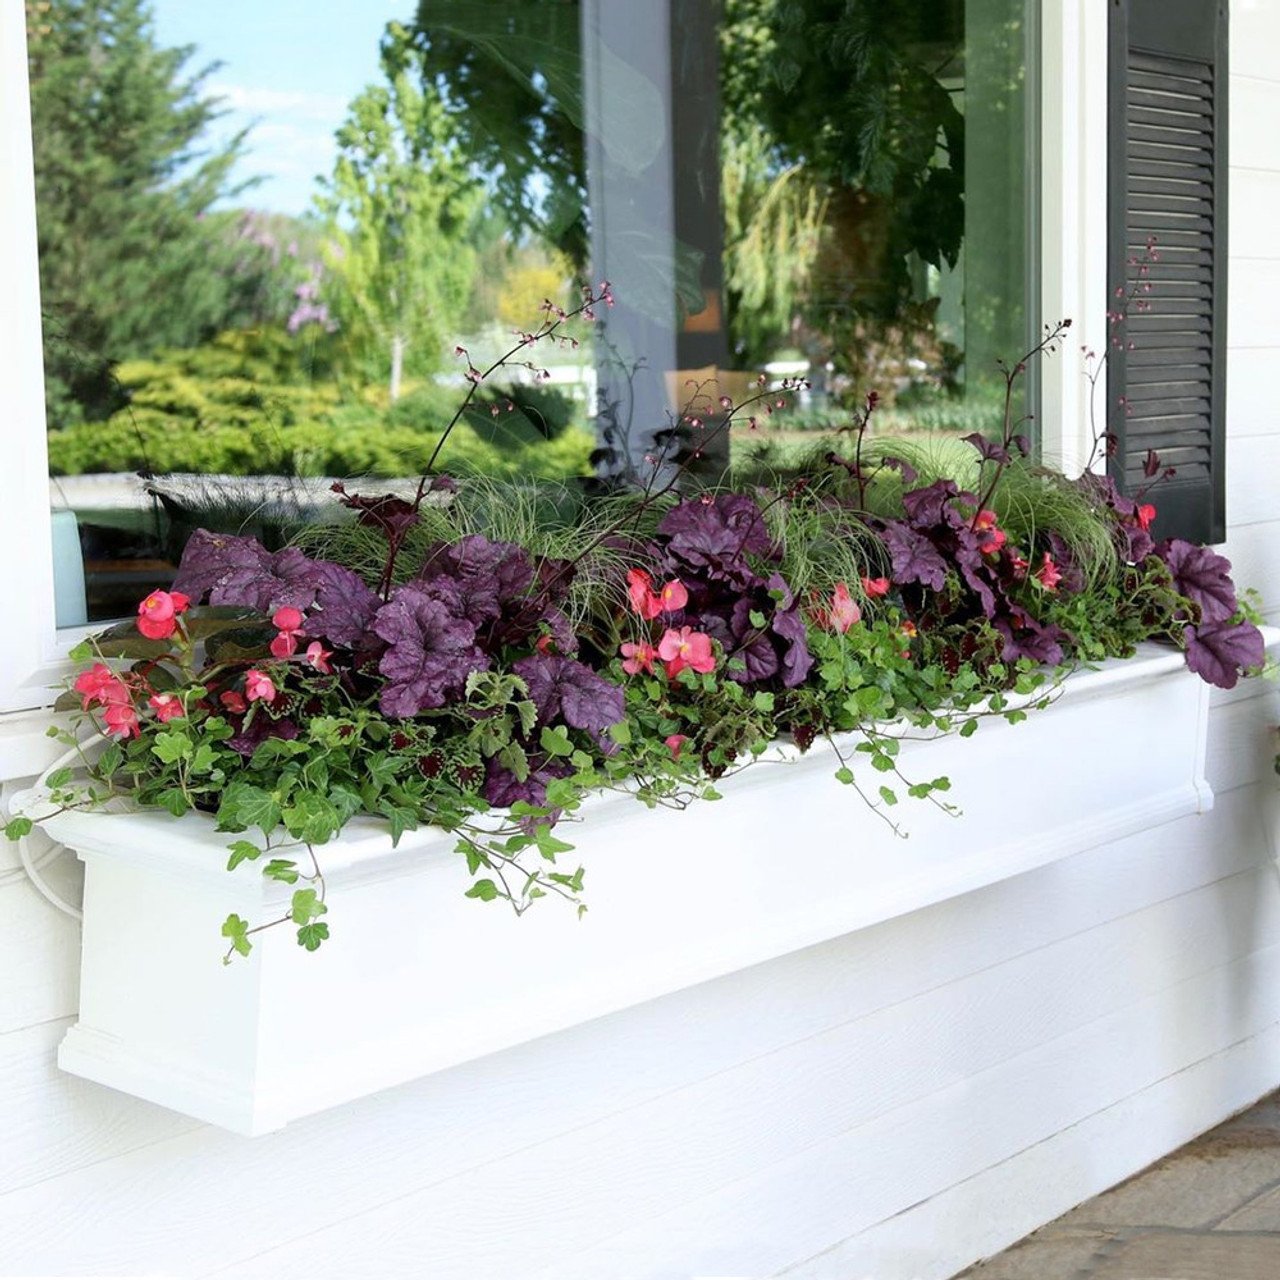
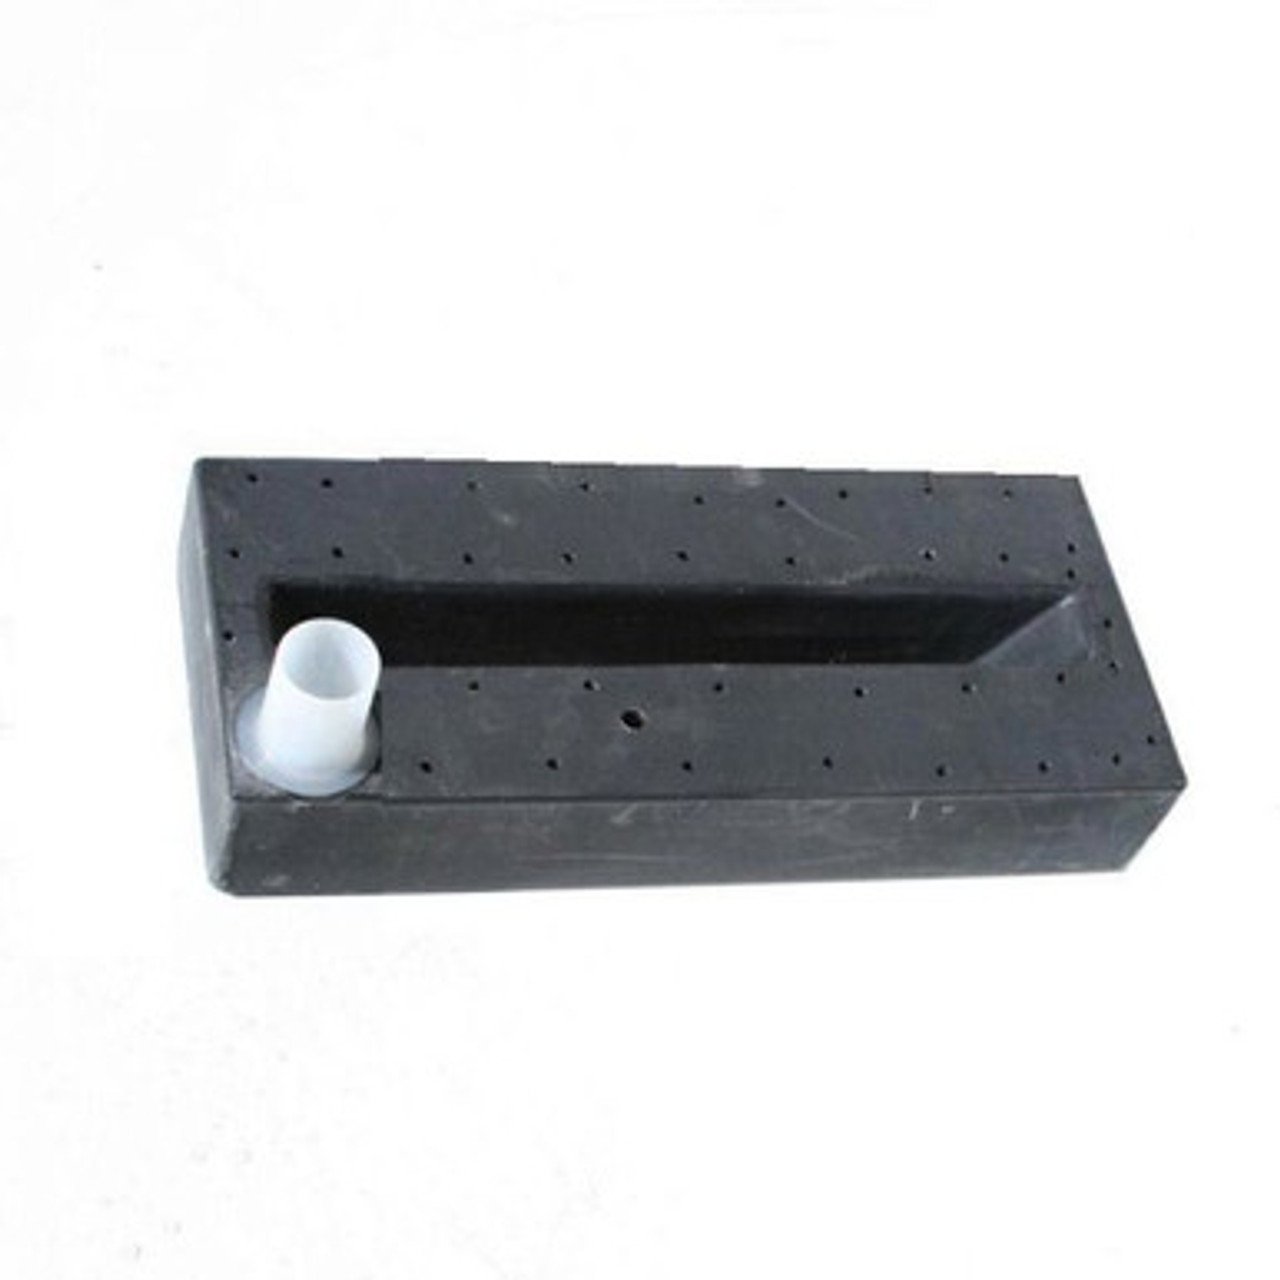
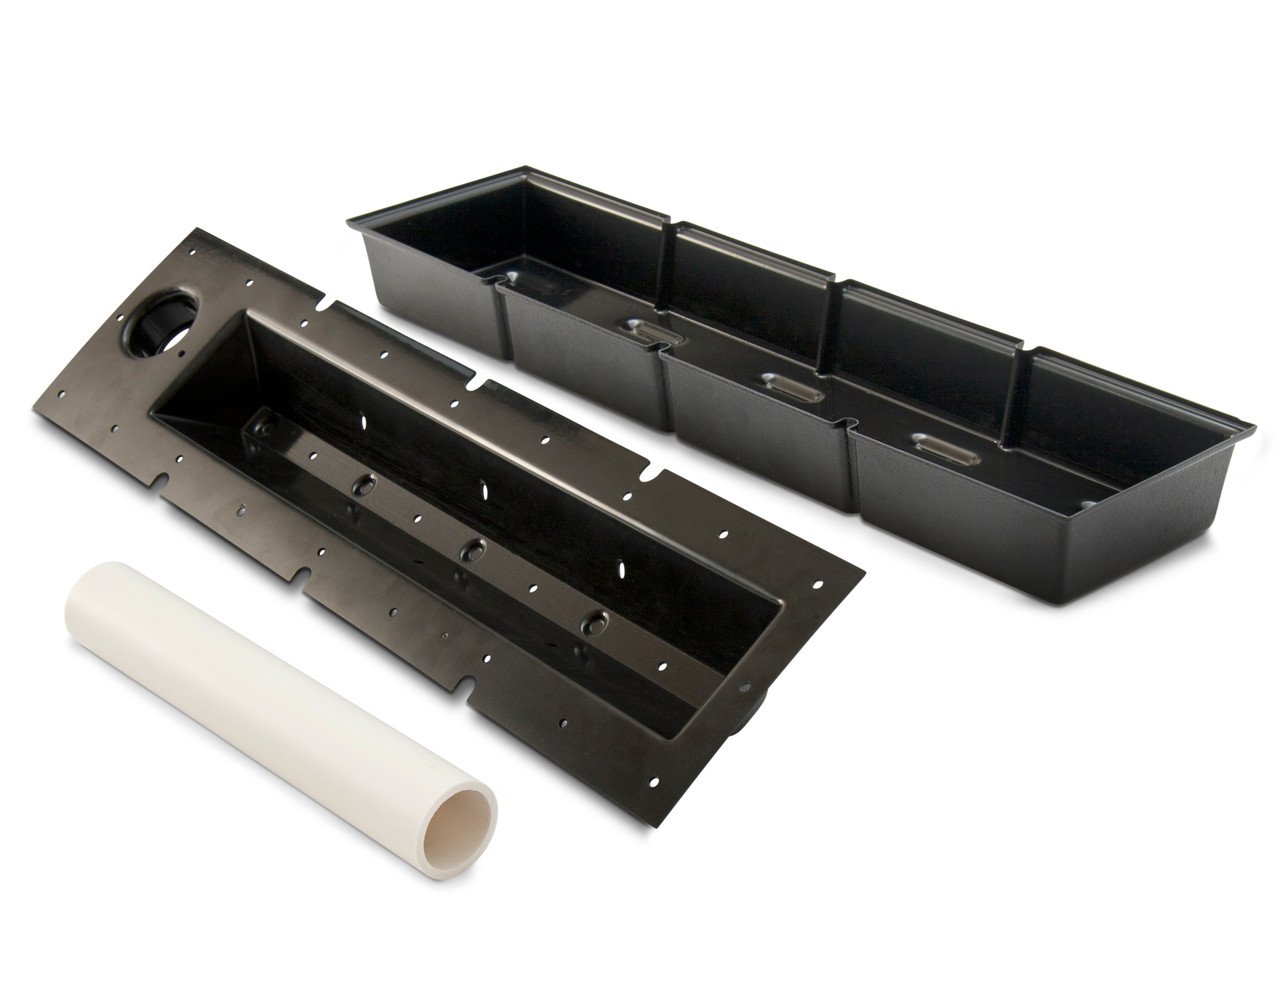
Lastly, make sure you can reach the window box with an exterior hose and long handled rain wand. If a hose won’t reach, consider getting a window box with a built-in reservoir that holds excess water and re-distributes to the roots as needed, like the Hooks & Lattice models featured below:
If you already have window boxes, but struggle to keep them hydrated, consider adding one of these self-watering reservoirs this year. They are particularly helpful solutions for Southern exposures or those hard to reach spots where you’re only able to water every few weeks for the sake of convenience. One drawback to reservoirs is that they take up space inside your window boxes that would otherwise be room for root growth; so you may sacrifice on the ultimate size of your plants in exchange for convenience.
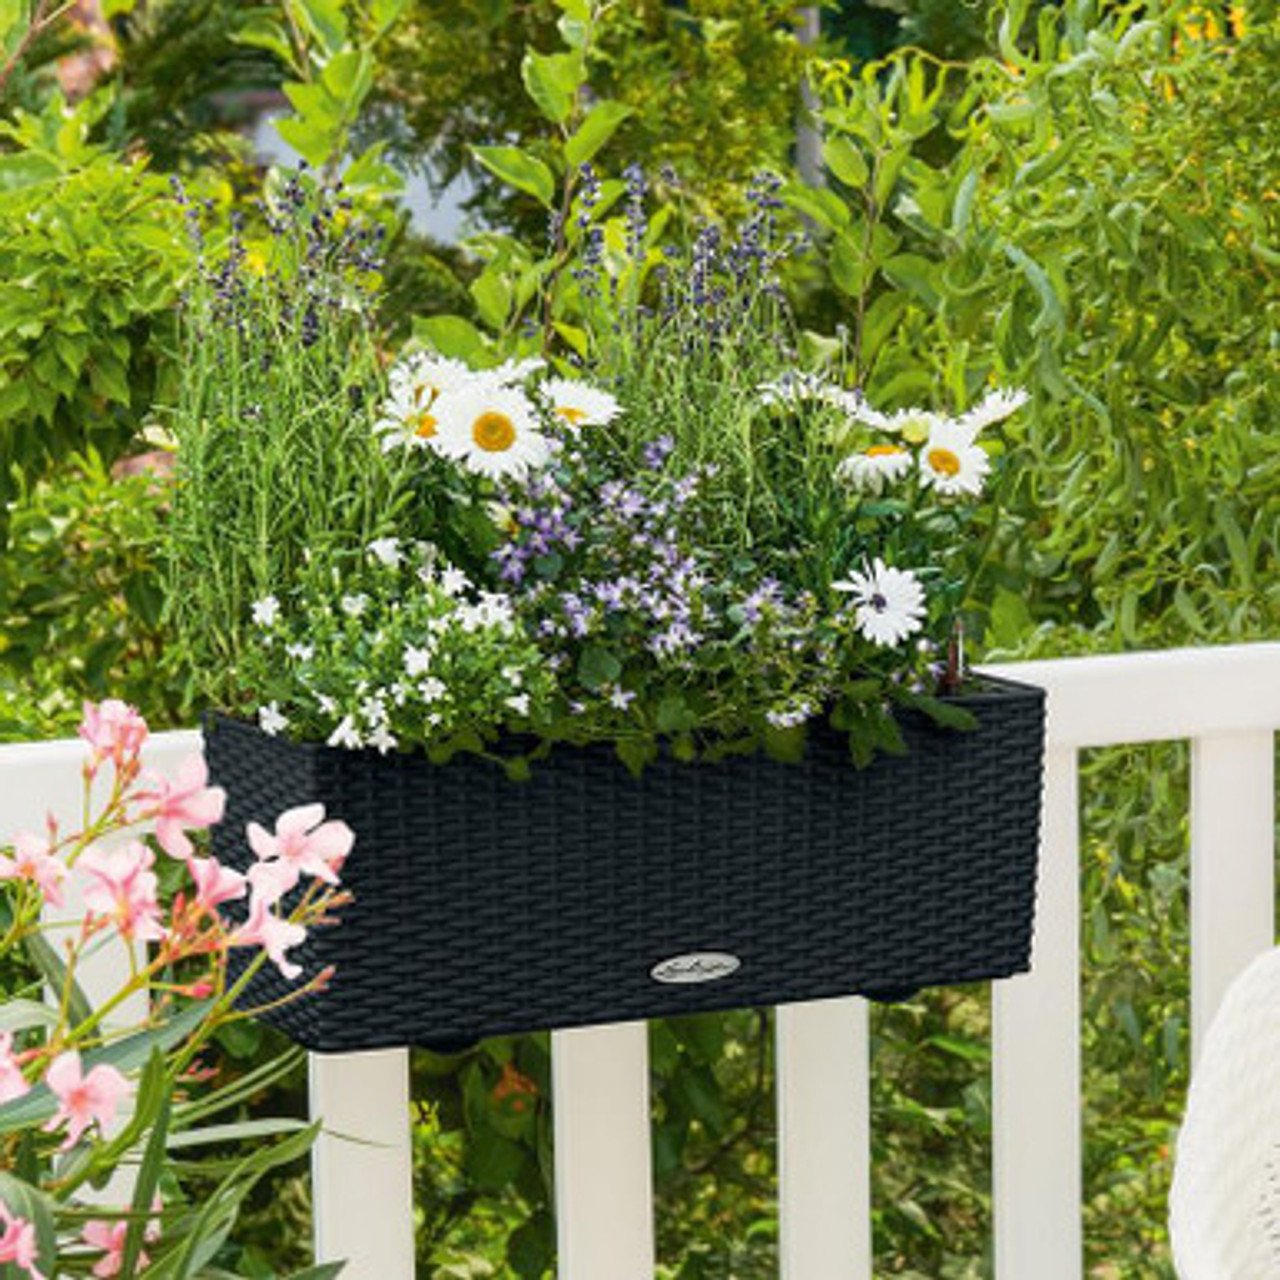
When thinking about location, remember that your window box doesn’t have to be under a window – it can hang on a railing, fence, or gate; sit on a low wall; or be used as a long and low centerpiece for a table, depending on the style you choose. You can find a variety of brackets and bolts HERE to help mount your flower box to your unique location.
PICK YOUR STYLE
Consider your architecture and color palette in order to find the right window box to complement your exterior and help you create the most professional, cohesive design. Think of your home as a little black dress; then, let window boxes be the perfect accessory to complete the look.
Here are a few suggestions for pairing window boxes with common architecture. These are simply guidelines and many flower box styles can look great in a variety of installations!
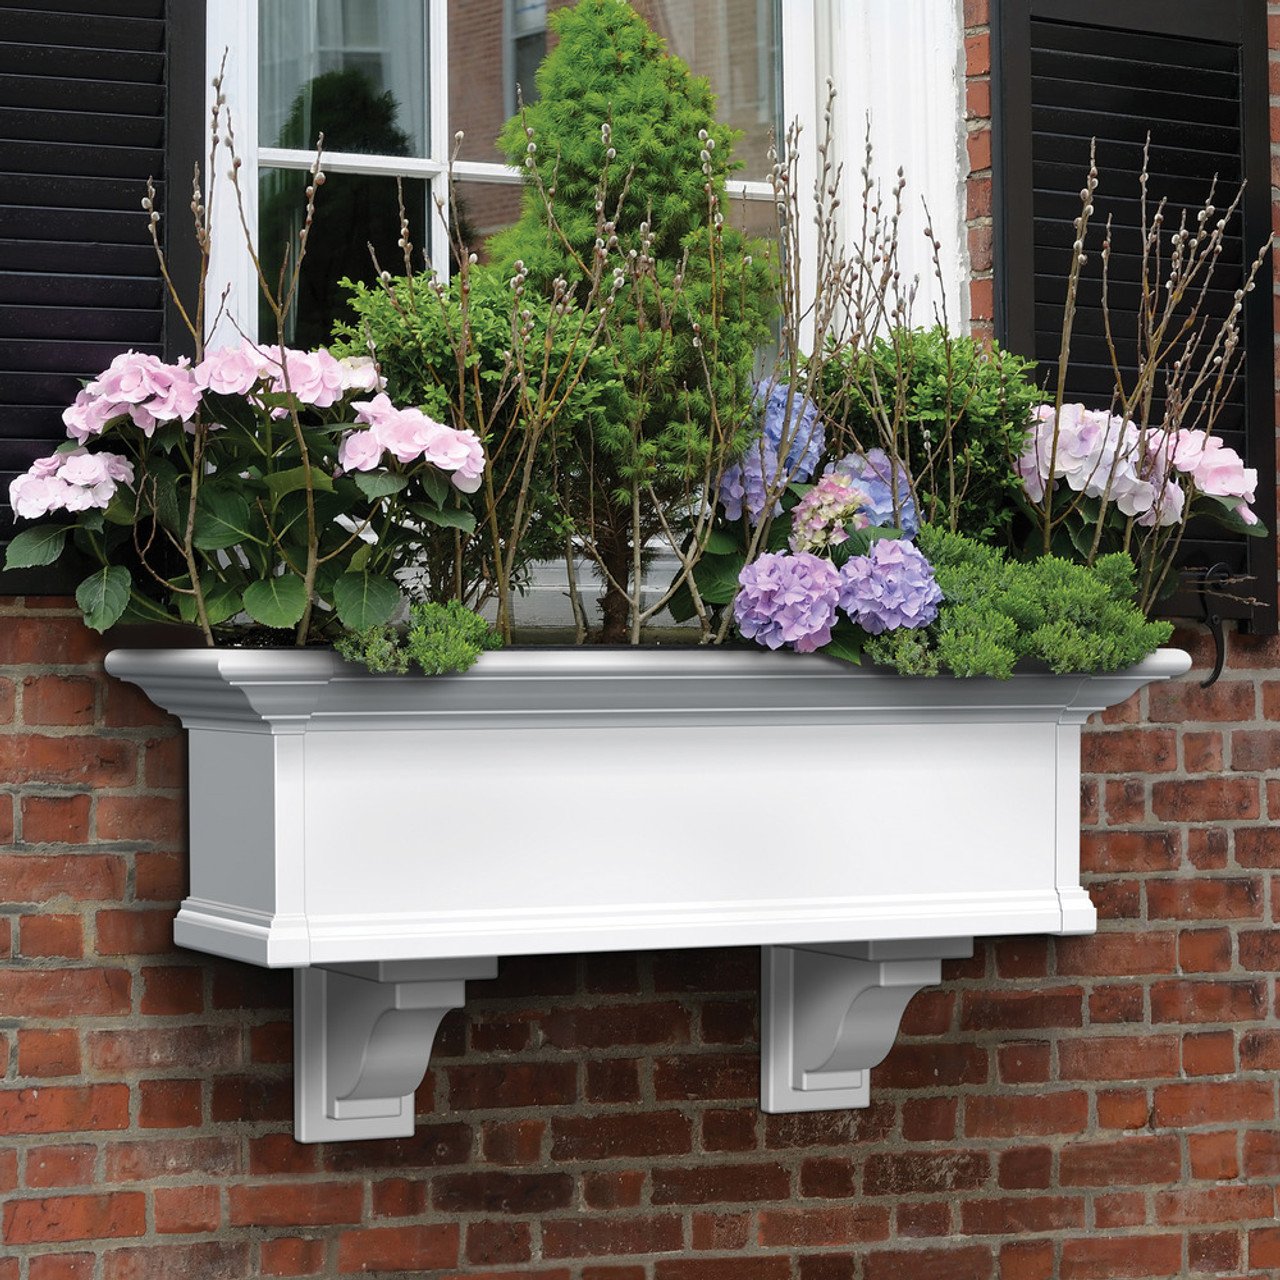
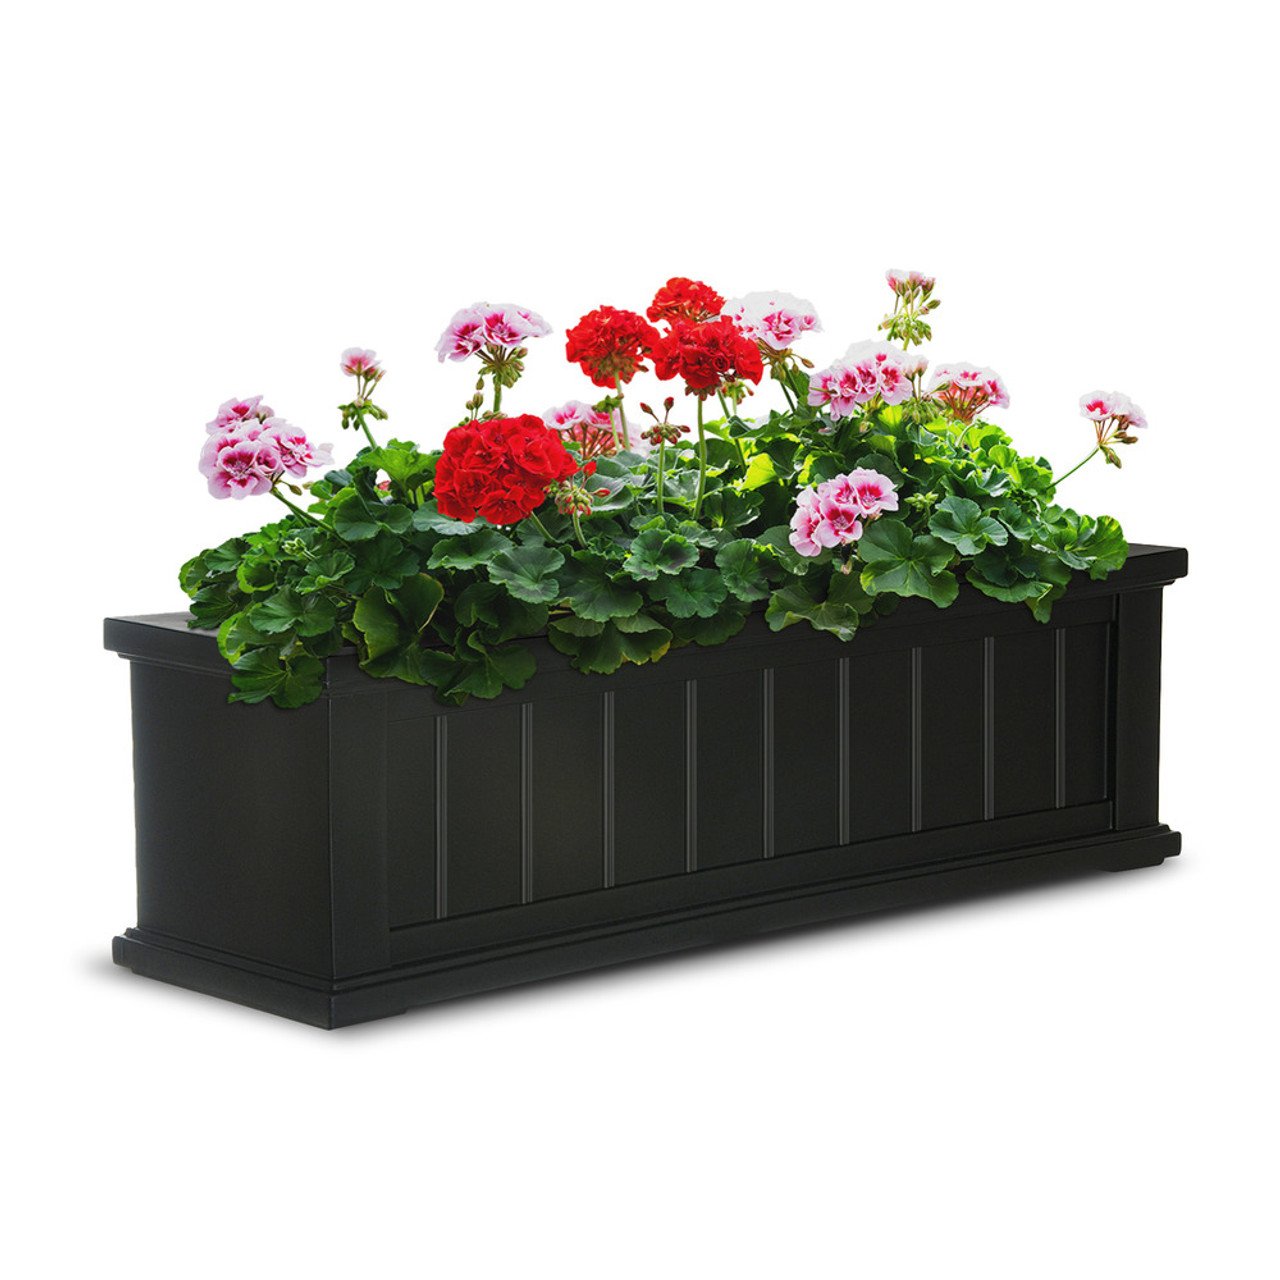
Traditional and Transitional. I prefer the look of wooden window boxes on most Traditional and Transitional exteriors, but I don’t like the risk of rot. Cellular PVC is my favorite material because it looks just like wood, can be constructed in a variety of styles, can be painted, and offers excellent durability. Depending on the use of different trims and decorative brackets, these pair beautifully with the typical moldings and details of traditional and transitional homes. They’re lovely on any exterior surface — brick, shingles, siding, and stucco. The “Laguna” model from Hooks & Lattice conveniently comes in both white and black, but all of their PVC boxes can be painted to match your shutters, trim, or house color, allowing you to create a really high-end, custom look. Read the Hooks & Lattice Guidelines for painting PVC window boxes.
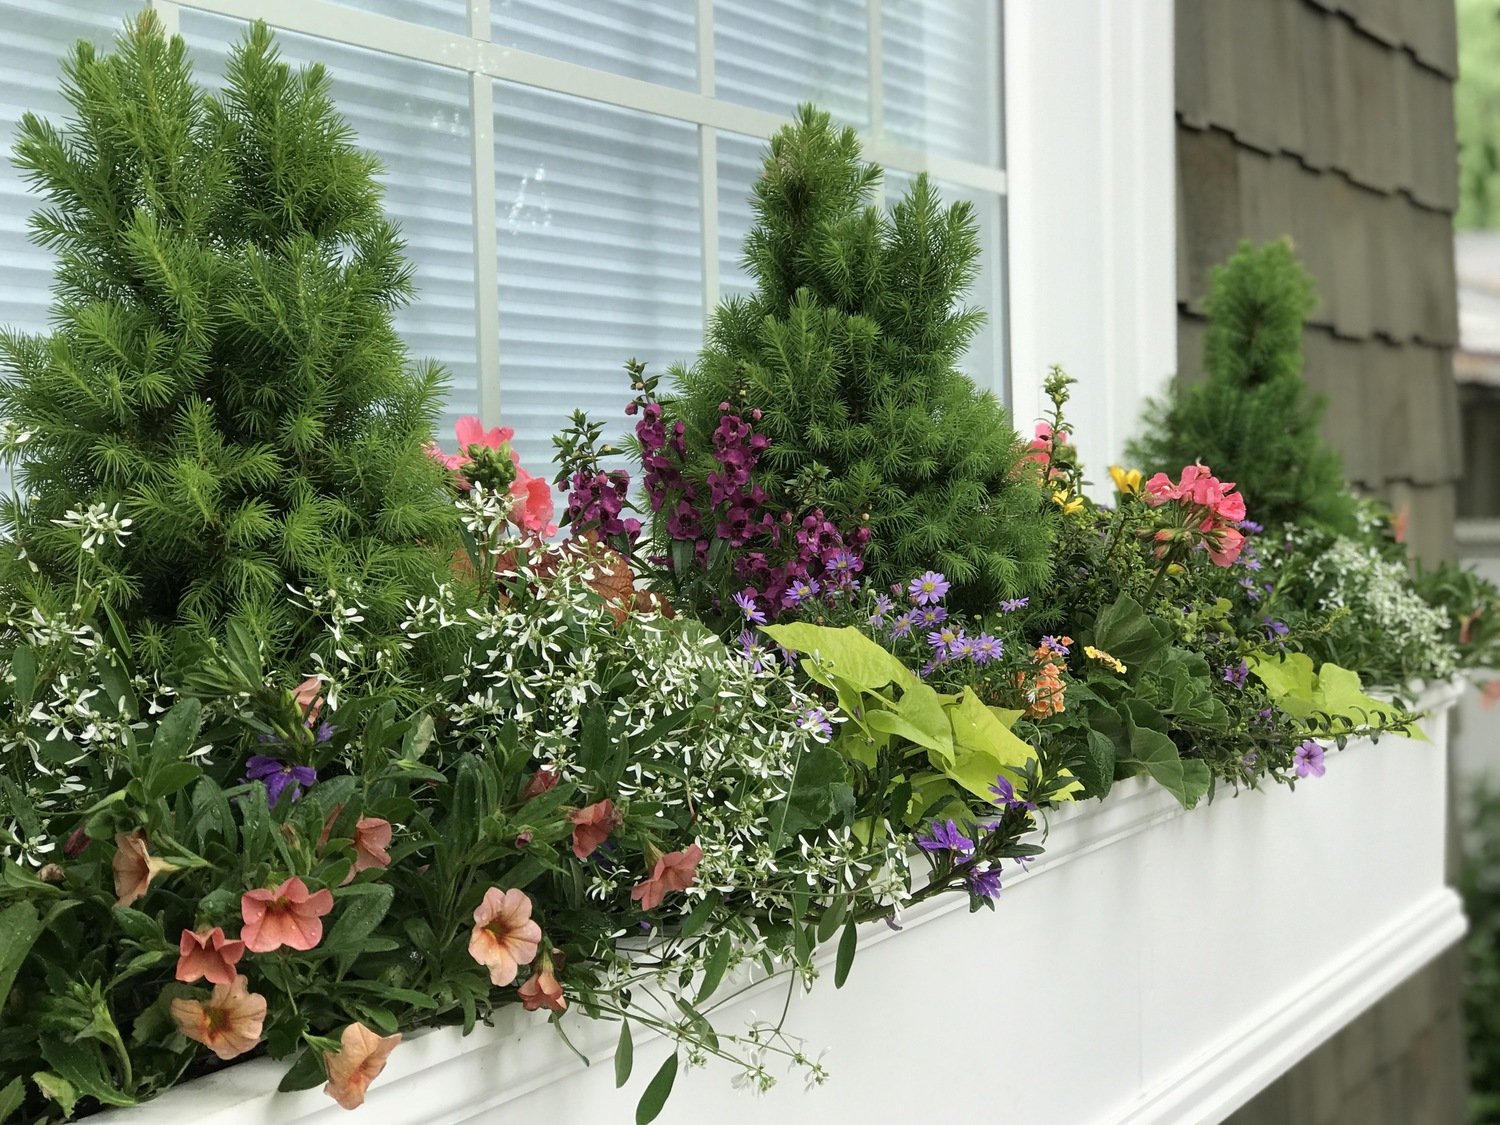
Top Choice: Cellular PVC. Try a white “Laguna” Window Box from Hooks & Lattice to visually link with white trim and allow your colorful mix of plants to stand out. Photo courtesy of Contained Creations.
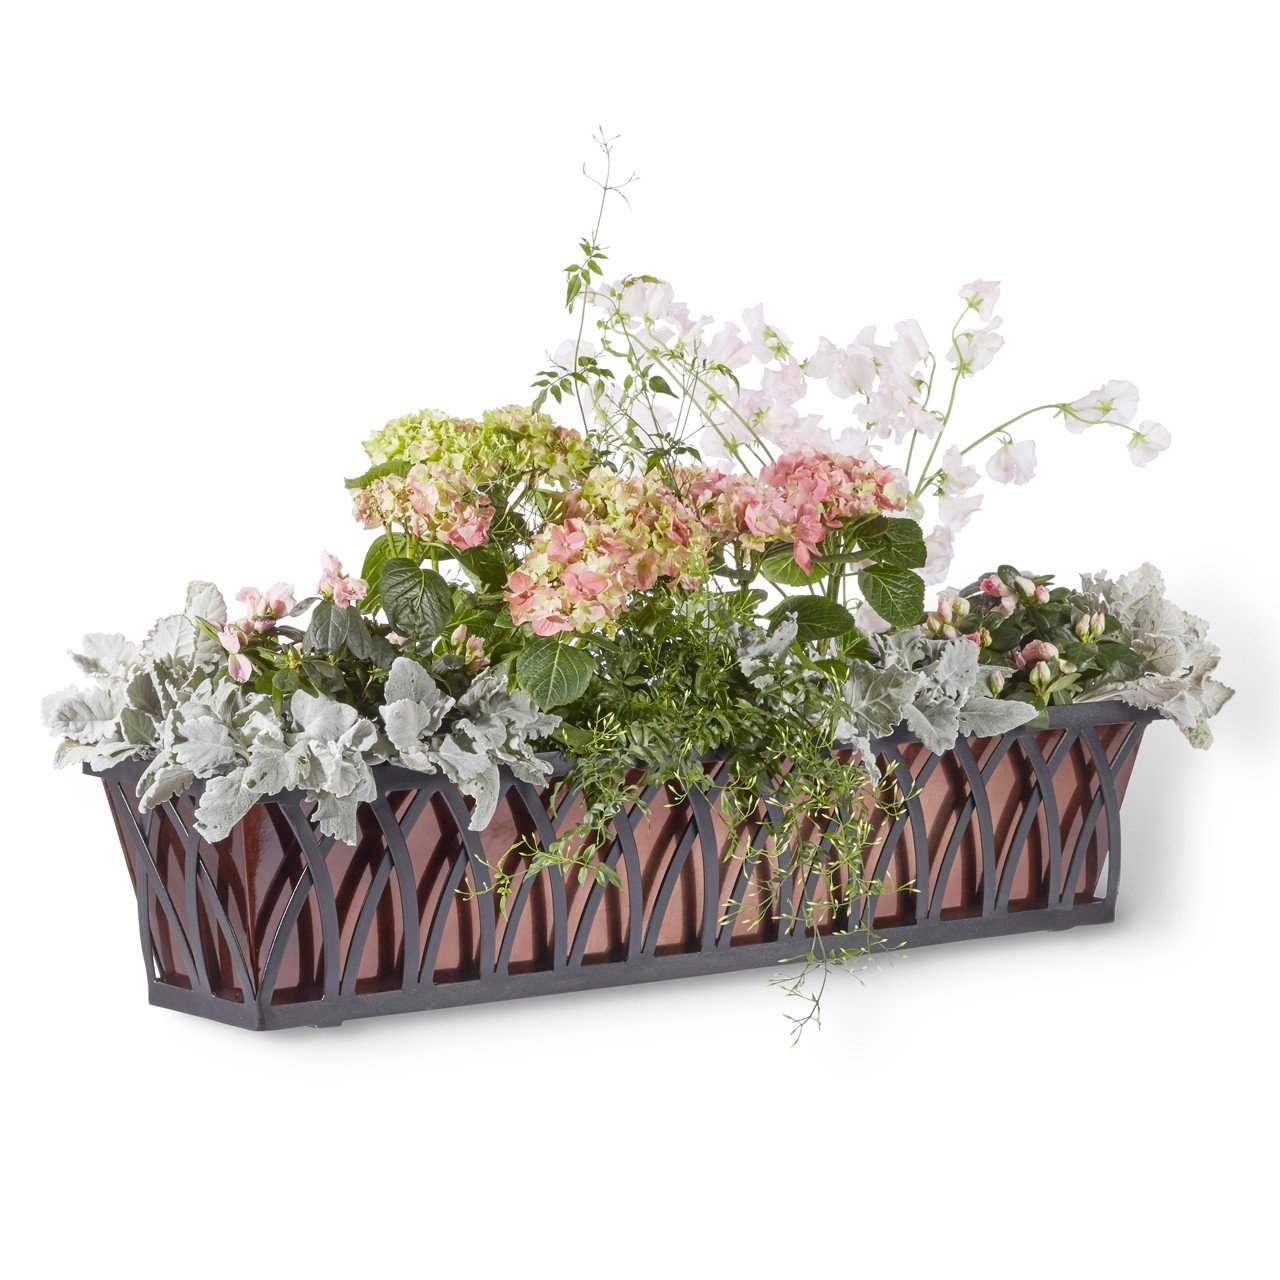
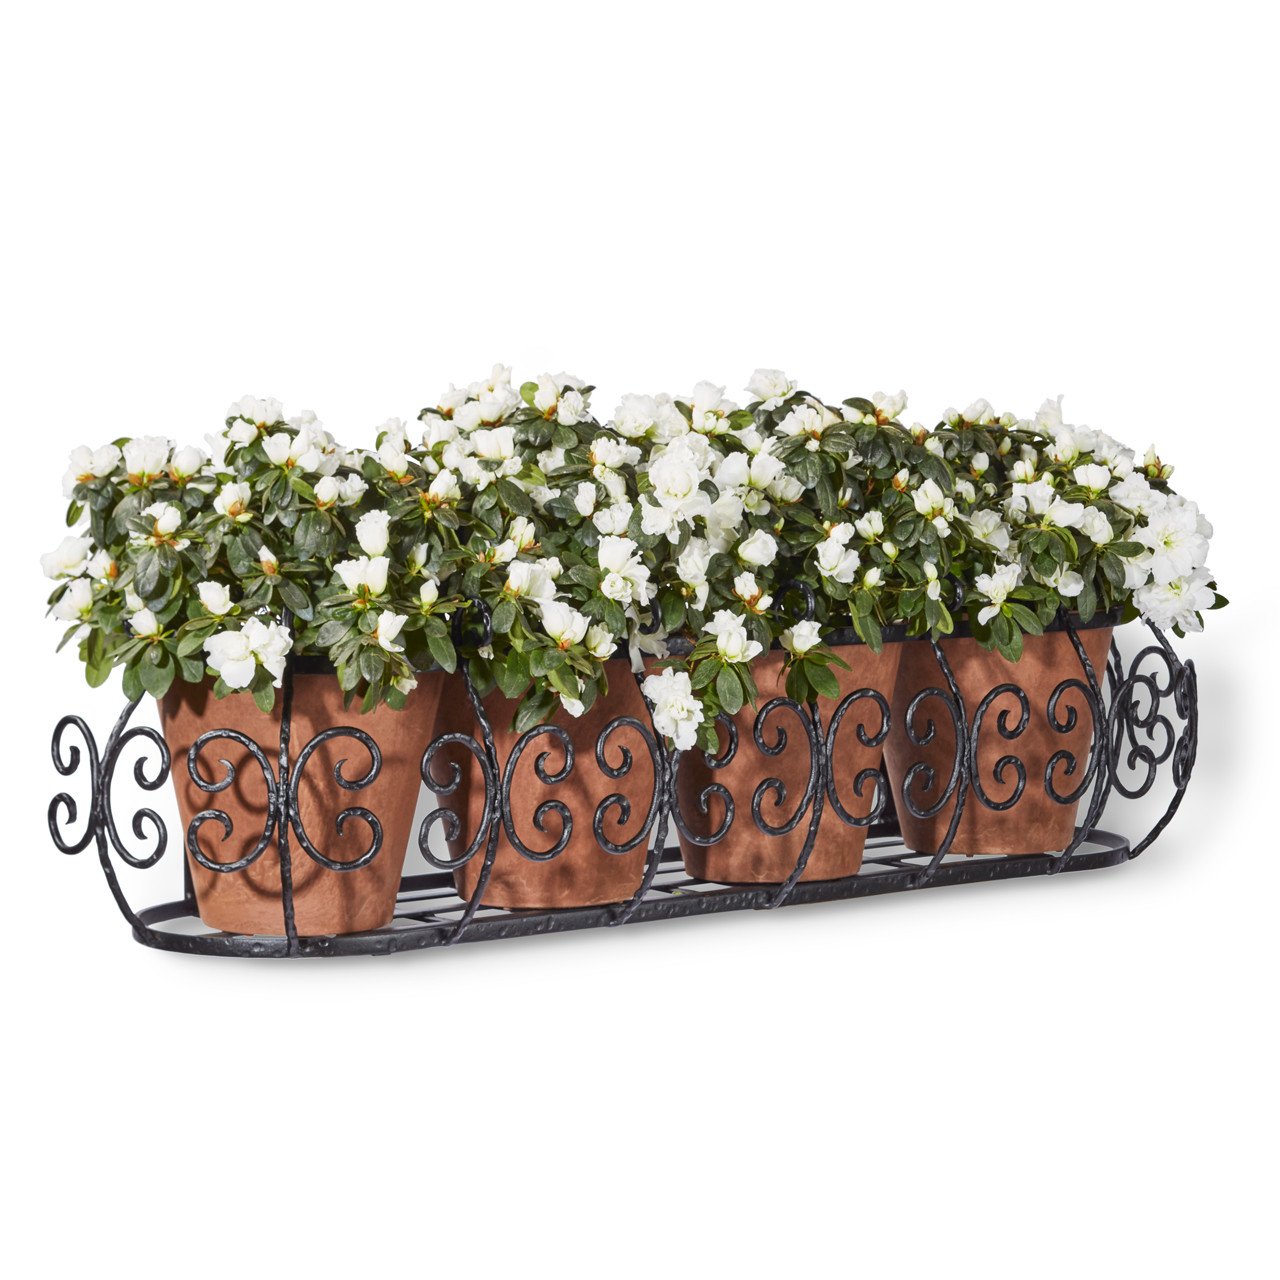
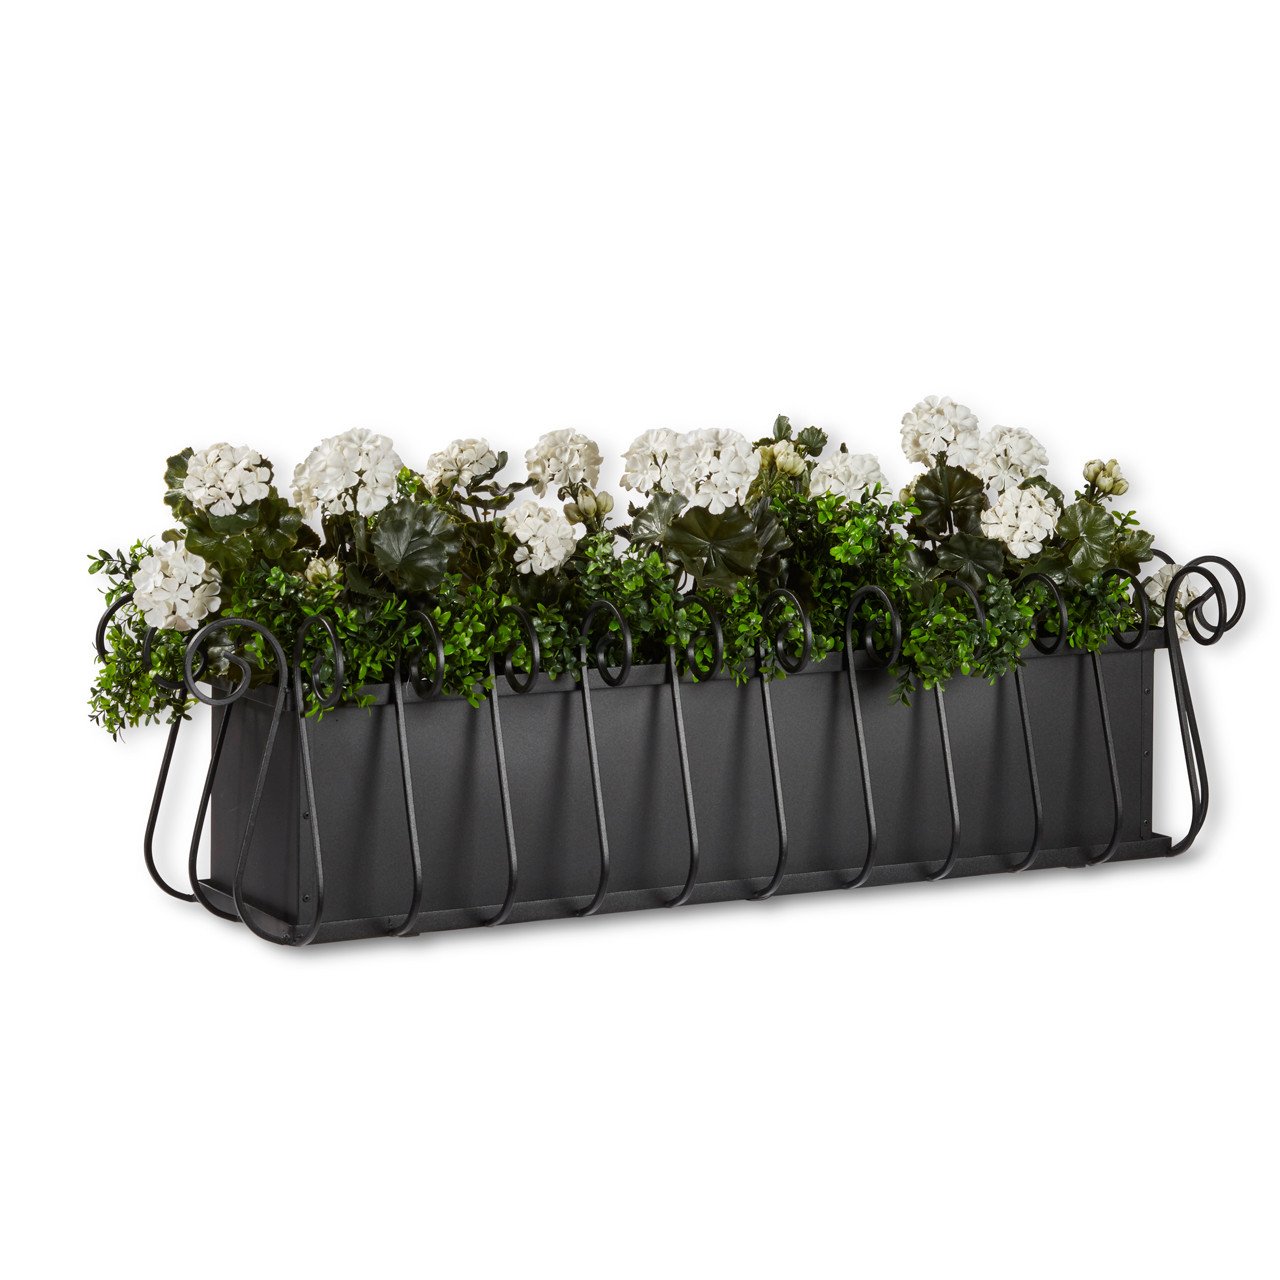
European and Old World. For exteriors with European or Old World style, such as stucco, stone, or painted brick surfaces, try a wrought iron window box with a copper liner or several round terra cotta pots inside. Note how the different combinations of boxes and liners below create very different looks! Depending on the pairing of box and liner you choose, this can become a fairly ornate box and will be best featured on a solid color exterior like stucco or painted brick. I’d love to see the Parisian Window Box hanging on a cream stucco wall beneath a window and filled with terracotta pots of pink geraniums. The Heatherbrook Window Box with a black liner would be really sophisticated hung on white brick and overflowing with white Babywing Begonias.
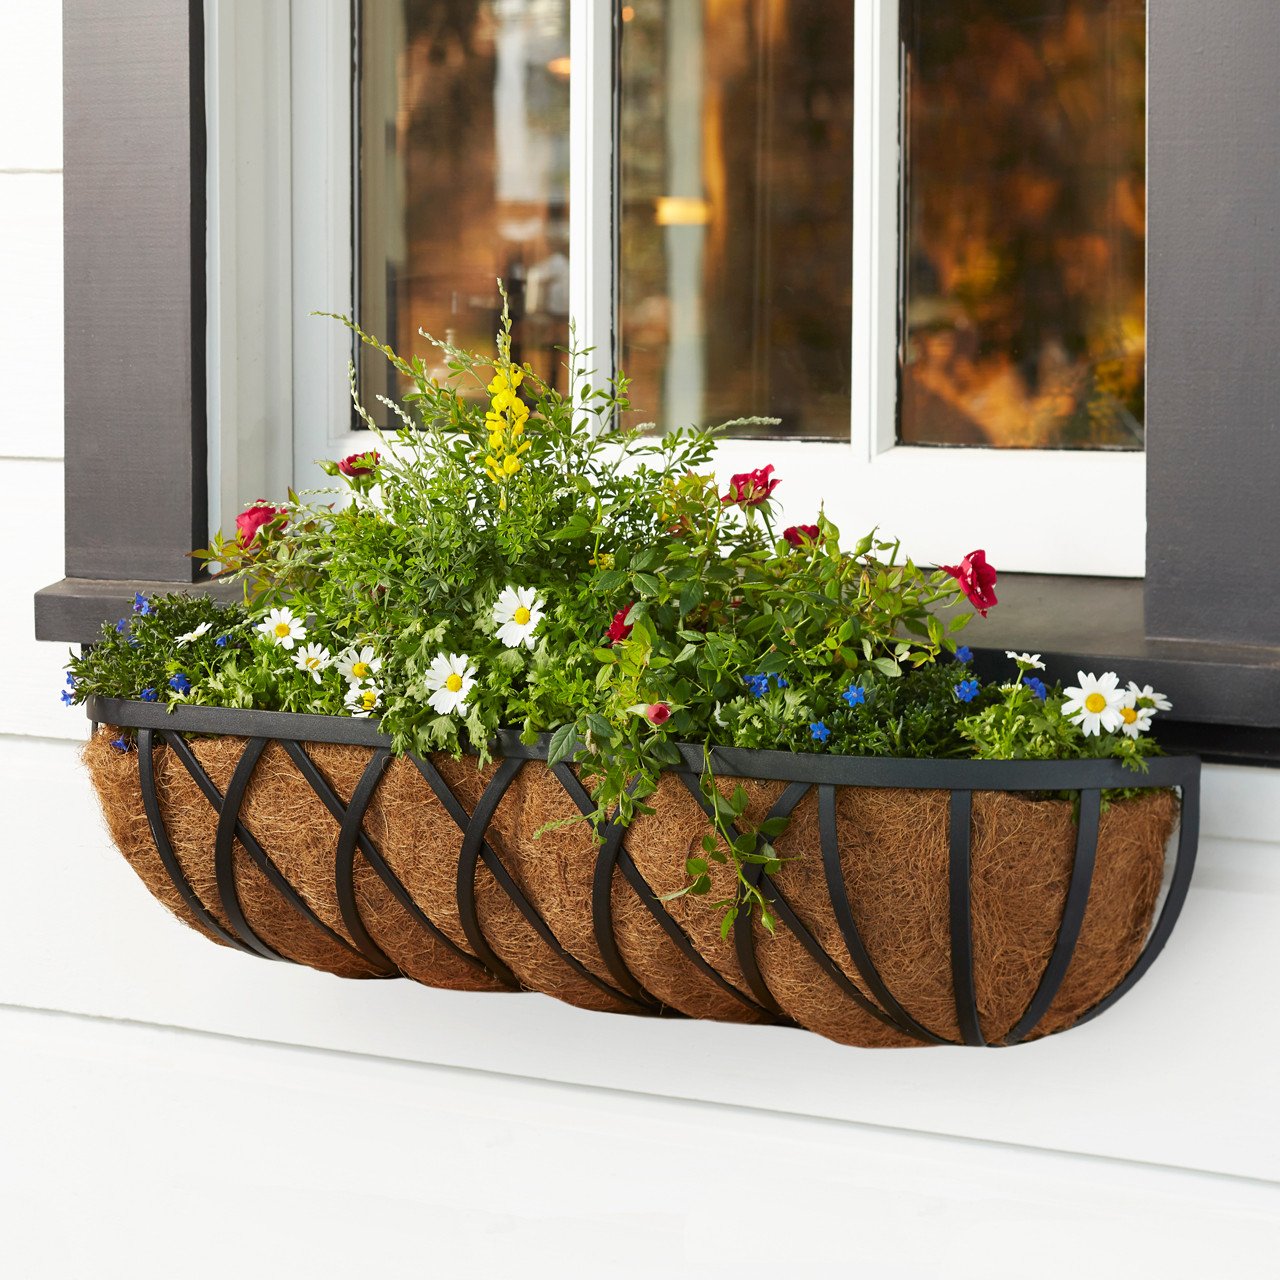
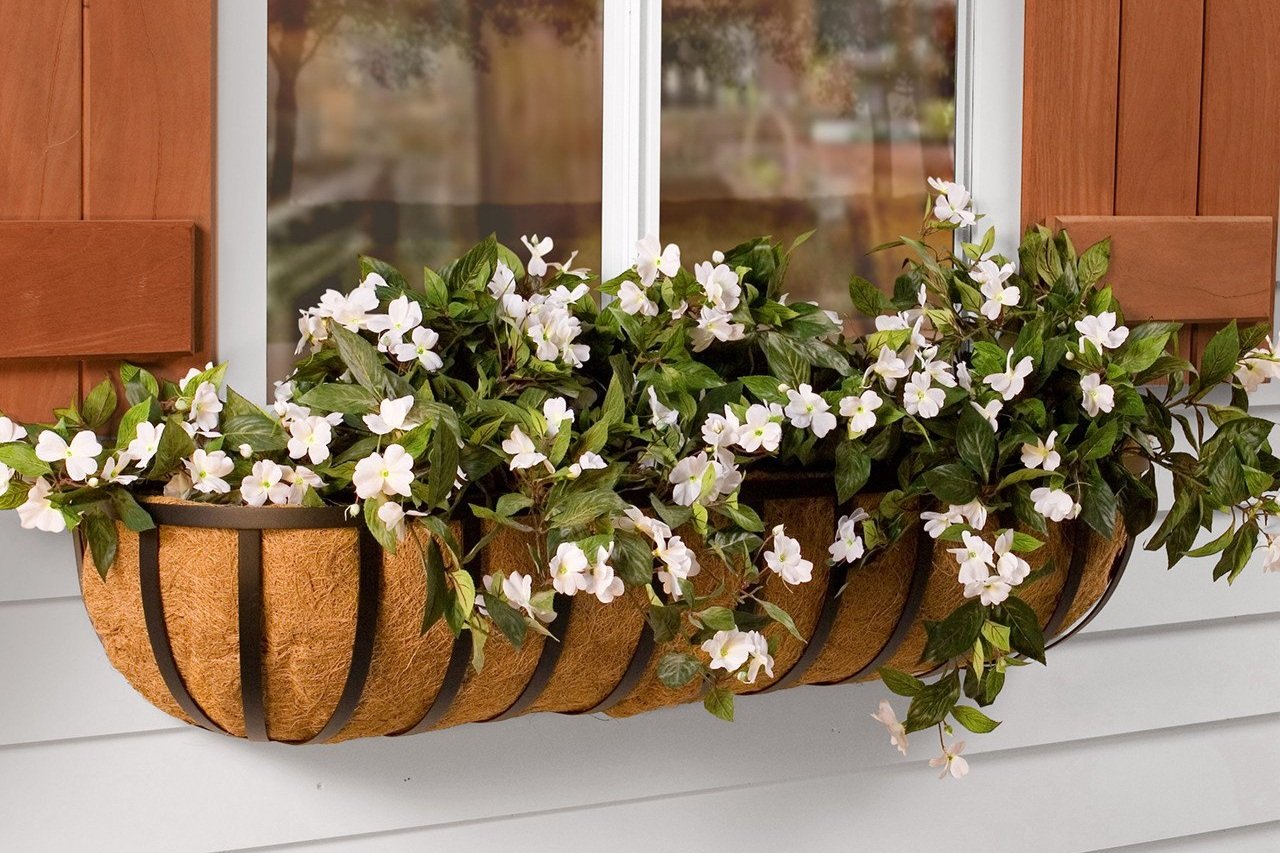
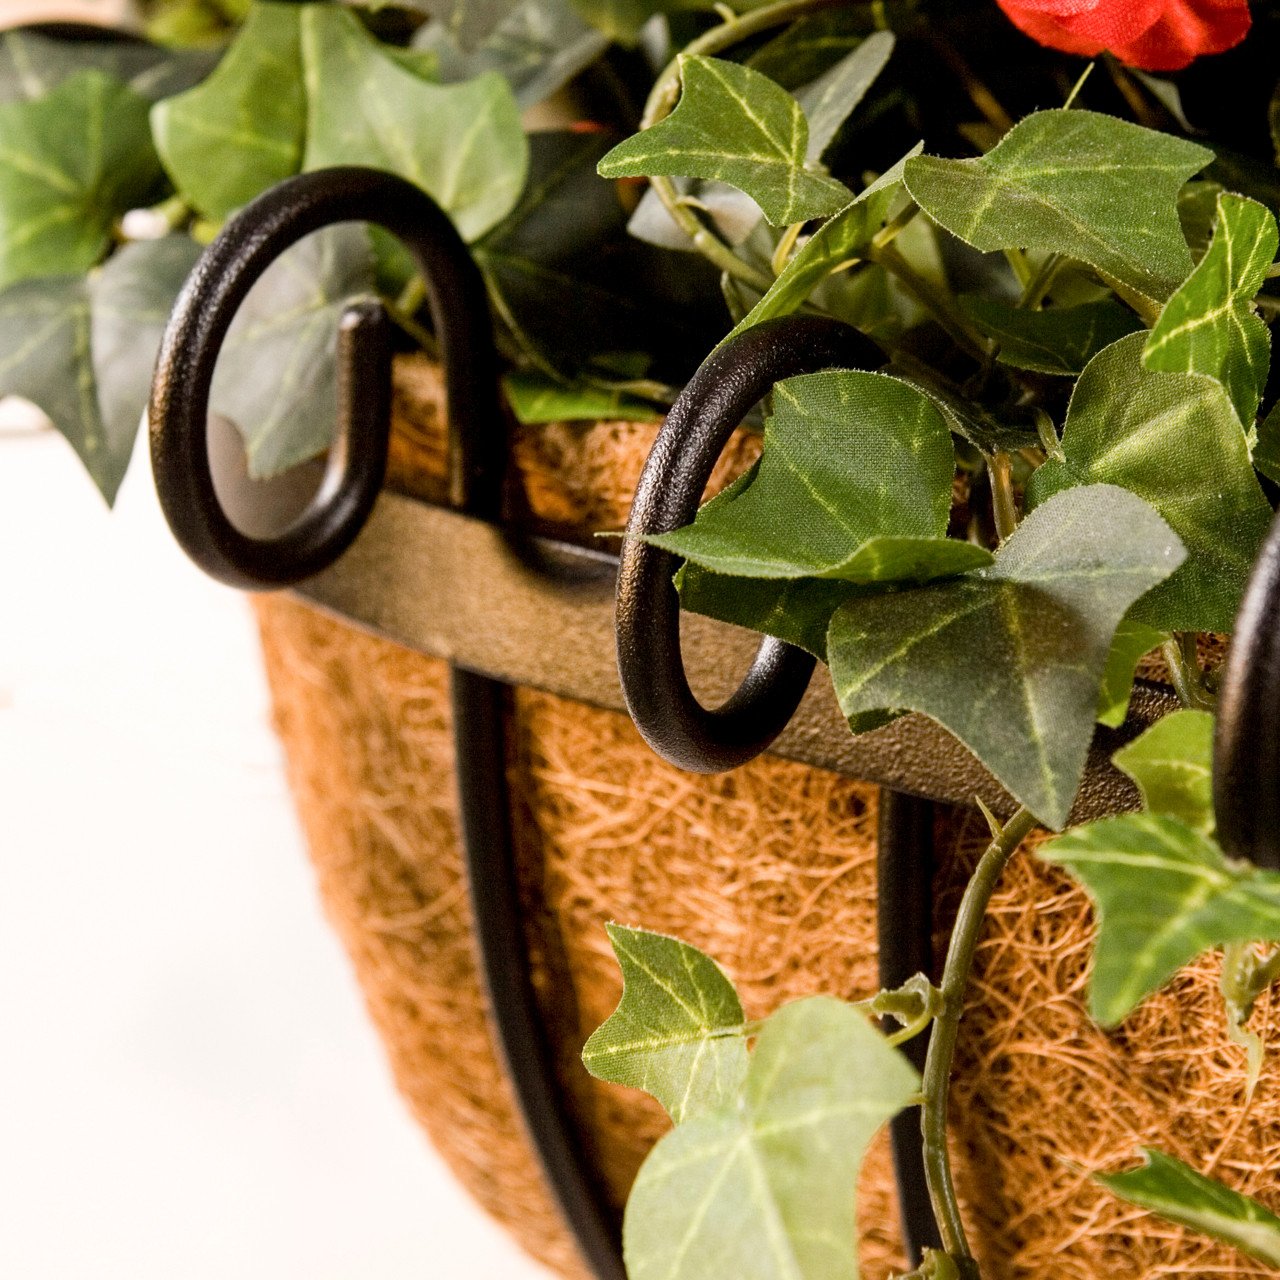
Cottage and Farmhouse. For an easy and charming cottage or farmhouse vibe, try hay rack planters lined with coconut coir. They come in a range of widths and are relatively simple to install. Beware, they can dry out quickly in full or afternoon sun; if you aren’t prepared to water up to twice a day in your hottest months, these might not be the best choice for you. The liners will need to be replaced when they begin to deteriorate, but I personally love the aged look as they darken and fray — I use them as long as they hold the dirt and plants!
Rot-resistant Cedar window boxes are another good option to match Cottage, Farmhouse, and especially Craftsman architecture. Try them stained or painted to match shutters, the house body, or trim. Check out the Framed Cottage Cedar Box.
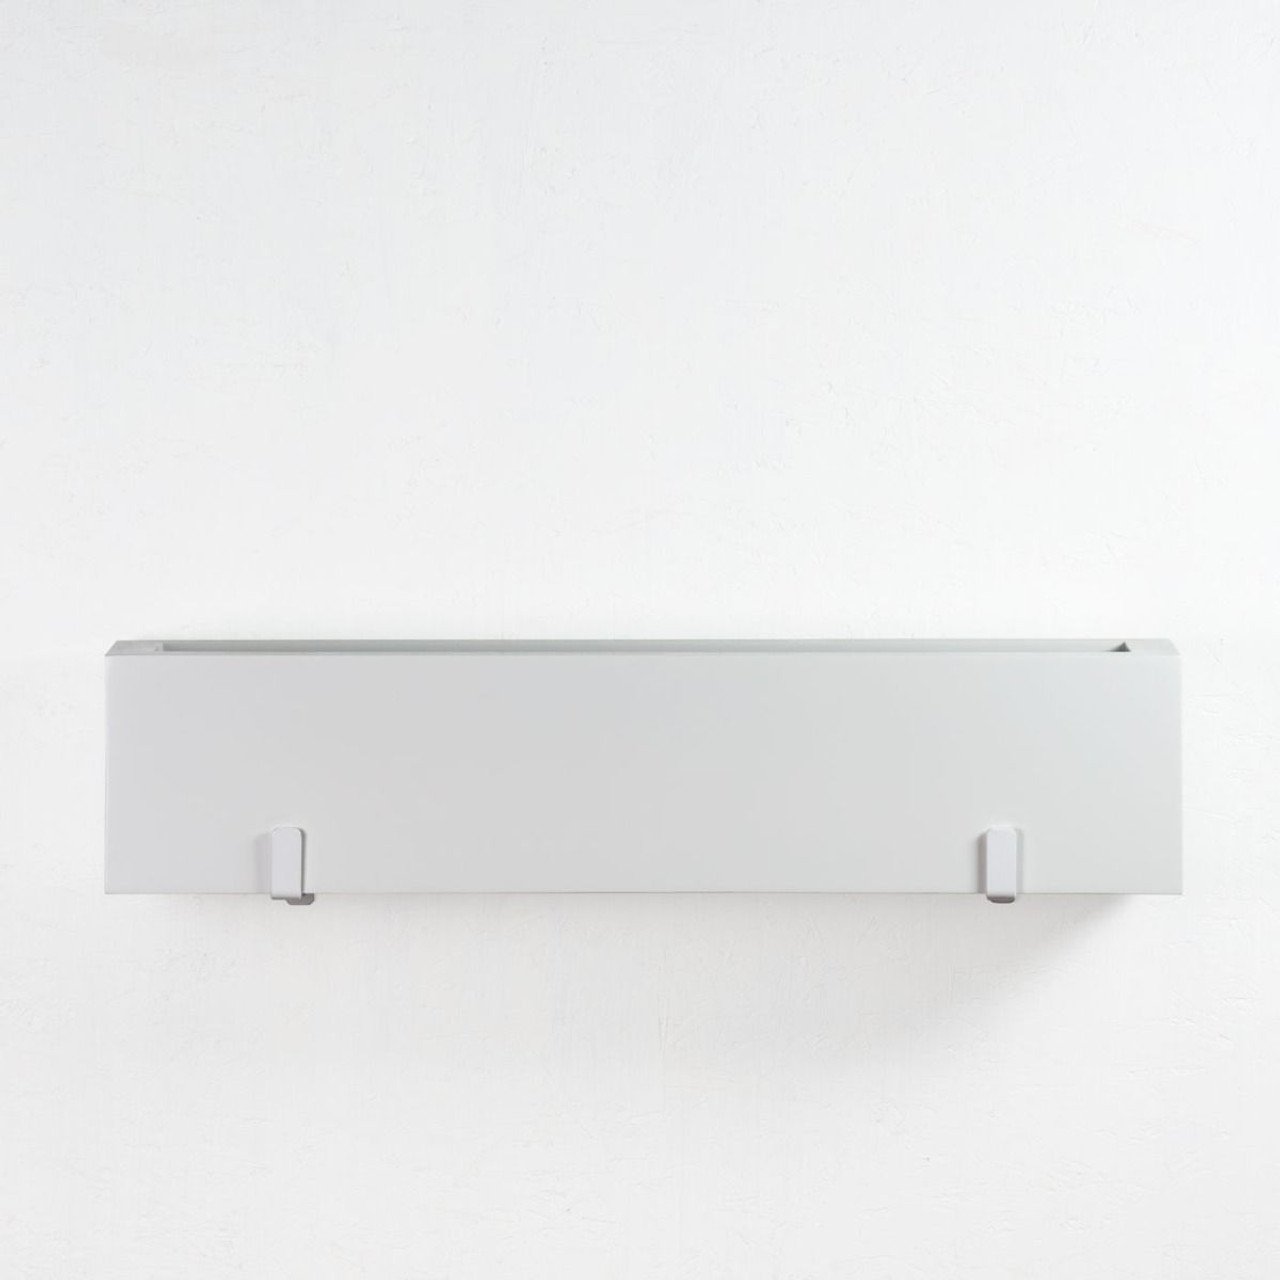
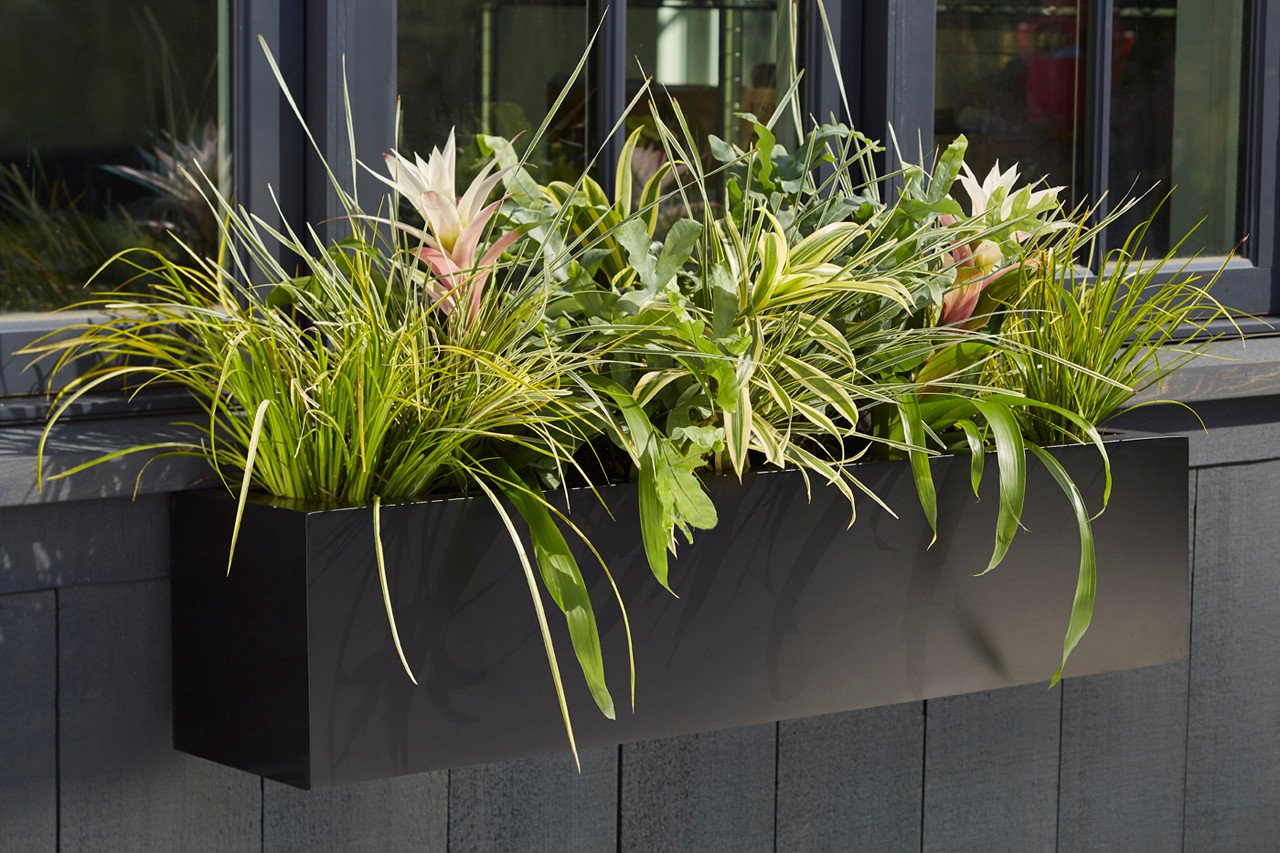
Contemporary. If your aesthetic leans more contemporary, look for window boxes with clean straight lines and minimal or no ornamentation. Simple fiberglass and metal options will blend seamlessly with your architecture and give your curb appeal a modern edge.
CHOOSE color WISELY
If you select a window box that can be painted and need help choosing a color, I always recommend neutral tones that match your shutters, trim, or facade. Here are some general guidelines:
If you have a painted exterior with contrasting shutters, match the shutter color.
If you have a painted exterior with no shutters, match the exterior “body” color.
If you have a painted exterior with no shutters, but there IS contrasting trim, match the trim color.
If you have a natural, unpainted exterior surface, like brick or stone, and you have shutters, match the shutter color.
If you have a natural, unpainted exterior surface, like brick or stone, with no shutters, match the trim.
SELECT THE RIGHT SIZE
For the most visually appealing and balanced look, select a window box as wide as the window frame. If you have shutters, you can go a bit longer — add 4” to 6” to the length. Anything narrower than the window frame will look too small and out of proportion.
The depth and height of the box aren’t quite as critical as the width in terms of proper visual scale, but remember that the deeper and taller the box, the more dirt and plants you can fit, which translates into a more abundant, eye-catching arrangement. It’s also likely to retain moisture longer, which means you won’t have to water as often.
Visit this all-encompassing Window Box Buying Guide at Hooks & Lattice for tips and graphics that will help you visualize the right size window box. You can also see a quick overview of their styles, materials, and hanging options. If you’re not sure what you’re looking for, this is a great place to start!
SHOP AT HOOKS & LATTICE
I hope you’ll visit Hooks & Lattice for all the window boxes, planters, and accessories you need! I always recommend shopping early in the year — February and March — for the best selection. The Spring season is like Christmas in the gardening world, so retailers are stocked up on all of the best, most popular inventory to meet demand. Plan ahead so you get the pieces you want and will be ready to plant as soon as the weather allows.
How to Arrange Plants in a Window Box
Choosing the perfect window box and installing it is the first step. Now you need to fill it! I apply the Thrillers, Fillers, & Spillers method to my window boxes, just as I do for any freestanding planter:
STEP 1. Plant a Thriller “T” in the middle of the box, as shown in the diagram below. This is your tallest plant and will serve as your centerpiece.
STEP 2. Work your way out from the center of the window box with Filler plants, “F”. Fillers are your middle tier – they should be upright or mounding plants that won’t get quite as tall as your Thriller. I like using two different plant varieties as my Fillers, “F1” and “F2”. Place the taller Filler “F1” on either side of the Thriller to begin descending in height from the middle of the arrangement out to the left and right sides. Then place the shorter Filler plants, “F2”, toward the left, front, and right of the box, as shown below.
STEP 3: Lastly, to spill over the outer edges of your box, add a few Spillers “S”. These are trailing plants and, like your Thrillers and Fillers, can be flowering or foliage varieties.
See the template below for a 36”L x 8”W x 8”H window box. I’ve specified Thriller, Filler, and Spiller plants that would do well with 4 to 6 hours of direct sun per day during the Summer in Zone 7b. You can switch out any of the plants to suit your season, light exposure, personal preference, and plant availability. The key to success is combining plants with similar light and moisture requirements, and placing them in a way that will create layers of interest as the season progresses.
Pro Tip: Before buying a window box, note the placement of any structural support pieces that may divide the interior. This is particularly common among longer boxes. It’s a good idea to ask Customer Service to confirm either way. If you have your heart set on an arrangement using a very defined centerpiece, like the template above, make sure your window box doesn’t have a divider smack in the middle of it. If it does, I recommend altering your design, or selecting a different window box model.
Points to Ponder
No one wants to go through the process of buying and hanging a window box, only to find that it doesn’t achieve the look they envisioned. So I hope these guidelines have taken some of the guesswork out of your endeavor. Once you determine the best location, size, and style, you’ll be well on your way to adding instant curb appeal!
Order your window boxes now so you’ll be ready to fill them as soon as the first annuals are available in your area!
All the best,
Steph
PS: Want to take this basic design to the professional level? Read Window Boxes 201: Learn to Plant Like a Pro!

