5 Ways to Care for Spring Container Gardens
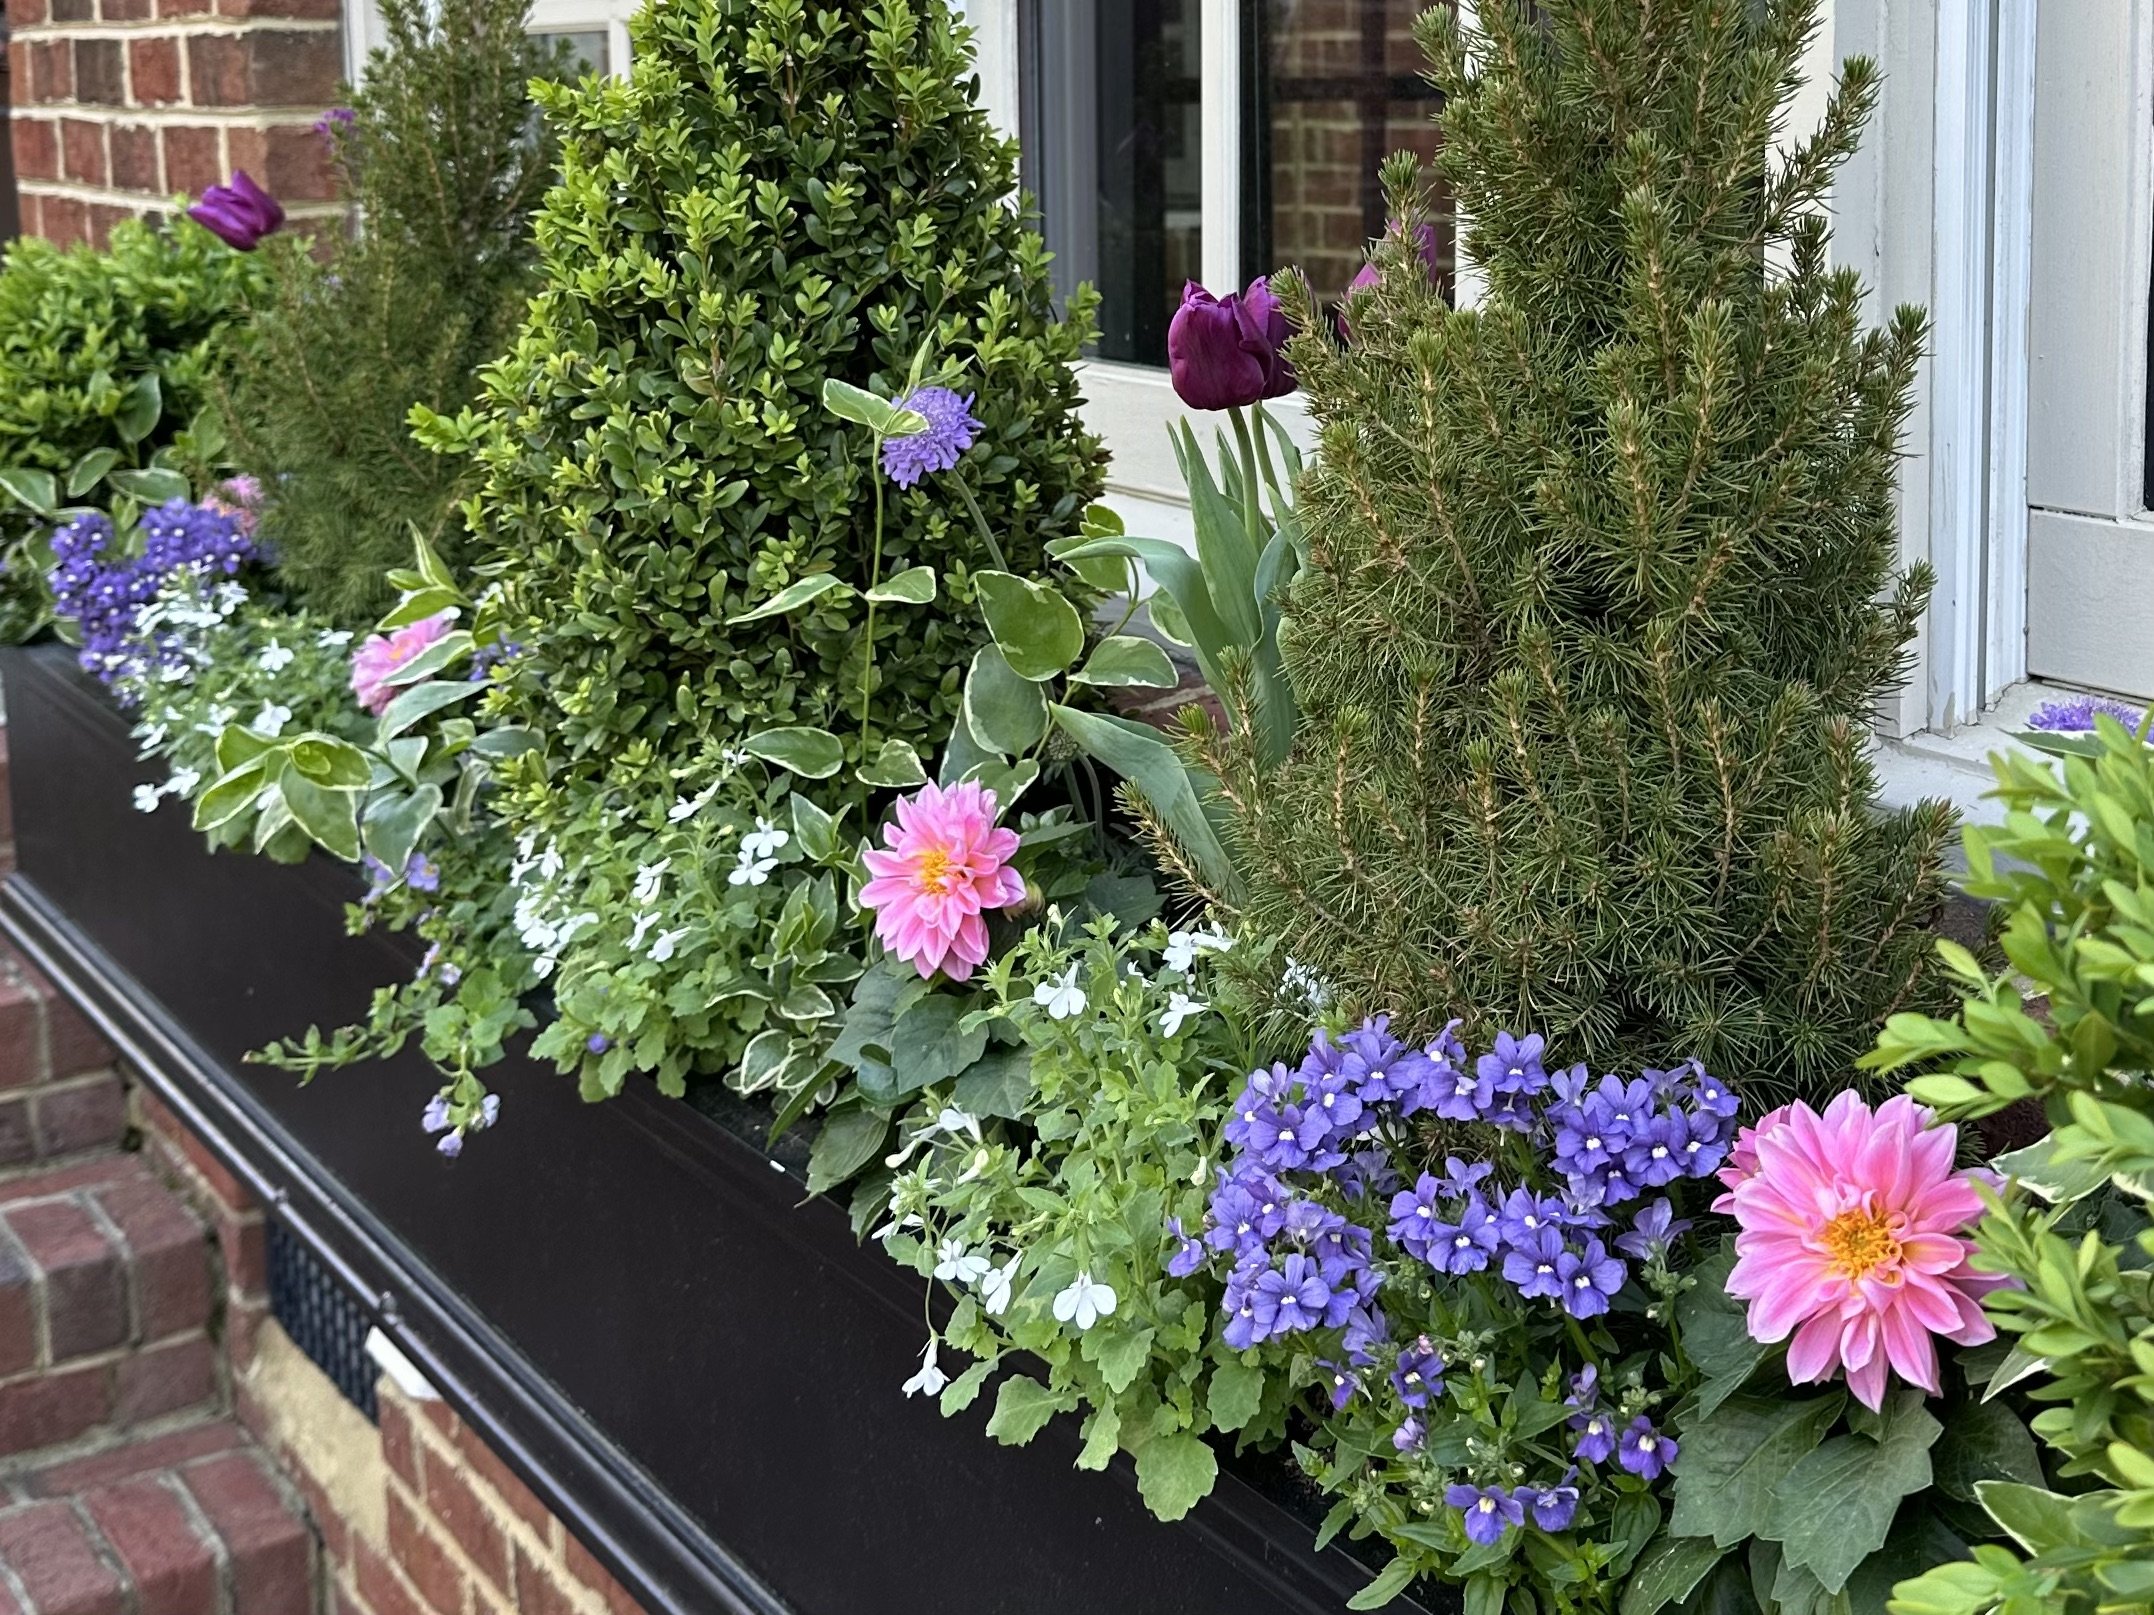
Spring annuals are nestled among small evergreen shrubs in this window box by Contained Creations
Spring is officially in full swing! Follow these 5 simple tips to help your container gardens thrive throughout the season!
Tip #1: Water
It seems obvious, but since you’re likely just getting back into your container gardening routine after the Winter, don’t forget to water! It’s especially important to water right after you plant, as this helps the potting mix settle in around the roots and nurtures the plants as they adjust to their new space.
Hydration is also important because it helps insulate plants against freezing. Wet soil stays warmer than dry soil, so wet soil helps insulate the roots and reduces the risk of damage from cold weather that often sneaks up on us this season.
Always water at base of your plants so the potting mix gets saturated. Spraying flowers and foliage doesn’t get to the roots, which is how your plants will absorb water.
Tip #2: Fertilize
Spring and Summer container gardens grow more than those we plant in the Fall or Winter. It’s important to provide fertilizer to support and encourage this growth. I recommend applying a granular time-release fertilizer when you plant, and then a water-soluble fertilizer about once every two weeks throughout the season. All-purpose fertilizers are a well-rounded, safe choice, particularly in granular form. But there are also some more targeted formulas, particularly in water-soluble form, to provide the right mix of nutrients for the most prominent plants in your arrangements. As always, follow the directions for each product you use.
GRANULAR FERTILIZERS TO APPLY WHEN PLANTING:
WATER-SOLUBLE FERTILIZERS TO USE THROUGHOUT THE SEASON:
Tip #3: Deadhead
Many of the most popular flowering plants for Spring containers require deadheading (removal of “dead” flower “heads”) to stay tidy and encourage new blooms. Osteospermum, Geraniums, Ranunculus, Snapdragons, and Pansies are just a few examples of plants that benefit from removal of spent flowers. Simply snap or cut dead flower stems at their base, as far down as you can get to the next leaf node.
Tip #4: Blow or Rinse Off Pollen
Pollen can quickly build up on leaves, flowers, and pot surfaces. Gently blow your arrangements with a leaf blower to remove pollen and keep your container gardens looking their best. After blowing, if there’s still noticeable residue, you can use a gentle hose spray to wash the rest of it away. I don’t recommend blasting plants in your container gardens with a jet of water, as this will damage them or even dislodge them from the potting mix. While you have the hose out, rinse off your pots and the hardscape around them, too. In Richmond, VA, “Pollen Season” usually ends around Mother’s Day and many of us pressure wash our outdoor spaces to spruce them up for Summer. But staying on top of this task in your small space gardens once a week when the pollen is at its worst means there will be less buildup to deal with later.
Tip #5: Protect Tender Plants from Cold
Seal Gaps with Binder Clips
Cold nights hovering around or below freezing (32°F) can stress out even the most experienced gardeners! If you plan ahead, you can be prepared to quickly protect your container gardens as needed. Since all container designs and climates are unique, there’s no universal guideline that applies to everyone. Environmental factors, even across the same property, can also impact how tender plants hold up in the cold. For example, a warm, sunny day can heat up potting mix and help insulate plants through the night. Furthermore, a planter that sits up against a warm building will be better insulated than a lone pot far away from the house.
My rule of thumb is cover or bring Spring containers inside any time the temperature is going to dip below 40°F. You can encase them with high quality frost cloth or old bed sheets. For maximum ease, you can purchase plant “jackets” with drawstring and zipper enclosures. These products come in different weights and sizes and can be stored and reused year after year. Keep in mind, this method only provides several degrees of protection…but those few degrees can make a big difference! Whatever you use, be sure to tuck in your pots snuggly so that the wind can’t blow open your covers. Remove covers the next day, once the weather warms up. Moving pots into a warm garage or mudroom overnight is another great option.
Pro tip #1: Binder clips are an easy hack to seal frost cloth.
Pro tip #2: If using old sheets, I prefer fitted to flat because the elastic helps hug my pots.
If you have any questions or recommendations to share, please leave a comment below. I wish you a beautiful and successful Spring season!
All the best,
Steph
PS: This post may contain affiliate links. Any sales made through such links will pay a small commission to Contained Creations, at no extra cost to you.


