Create the Perfect Pumpkin Stack
No-Maintenance Fall Container Garden Idea
It’s officially Pumpkin Season and I have an EASY Fall container garden idea for you! Skip the mums and create the perfect pumpkin stacks in your planters instead! They add a touch of elegance to your Halloween decor and last all the way to Thanksgiving (or at least until the pumpkins fade)!
Pumpkin stacks are also a great solution when you want to bring instant color and height to planters in shady or hard-to-grow places. This type of design is best used in a protected area, but luckily there’s no watering or deadheading required!
What you’ll need:
• Base planter
• Potting mix or other filler
• Empty pot smaller than base planter
• Three heirloom pumpkins in decreasing widths
• Dried or fresh moss
Start with a Base planter full of potting mix
If your pot is already full of old dirt and roots, that’s perfect! If your stack will be exposed to rain, make sure there’s a drainage hole in the bottom so any water that gets in can escape. If your planter is empty and you don’t have potting mix on hand, you can use another filler like hardwood mulch, or even a stack of empty pots. Be sure to create a level and stable foundation.
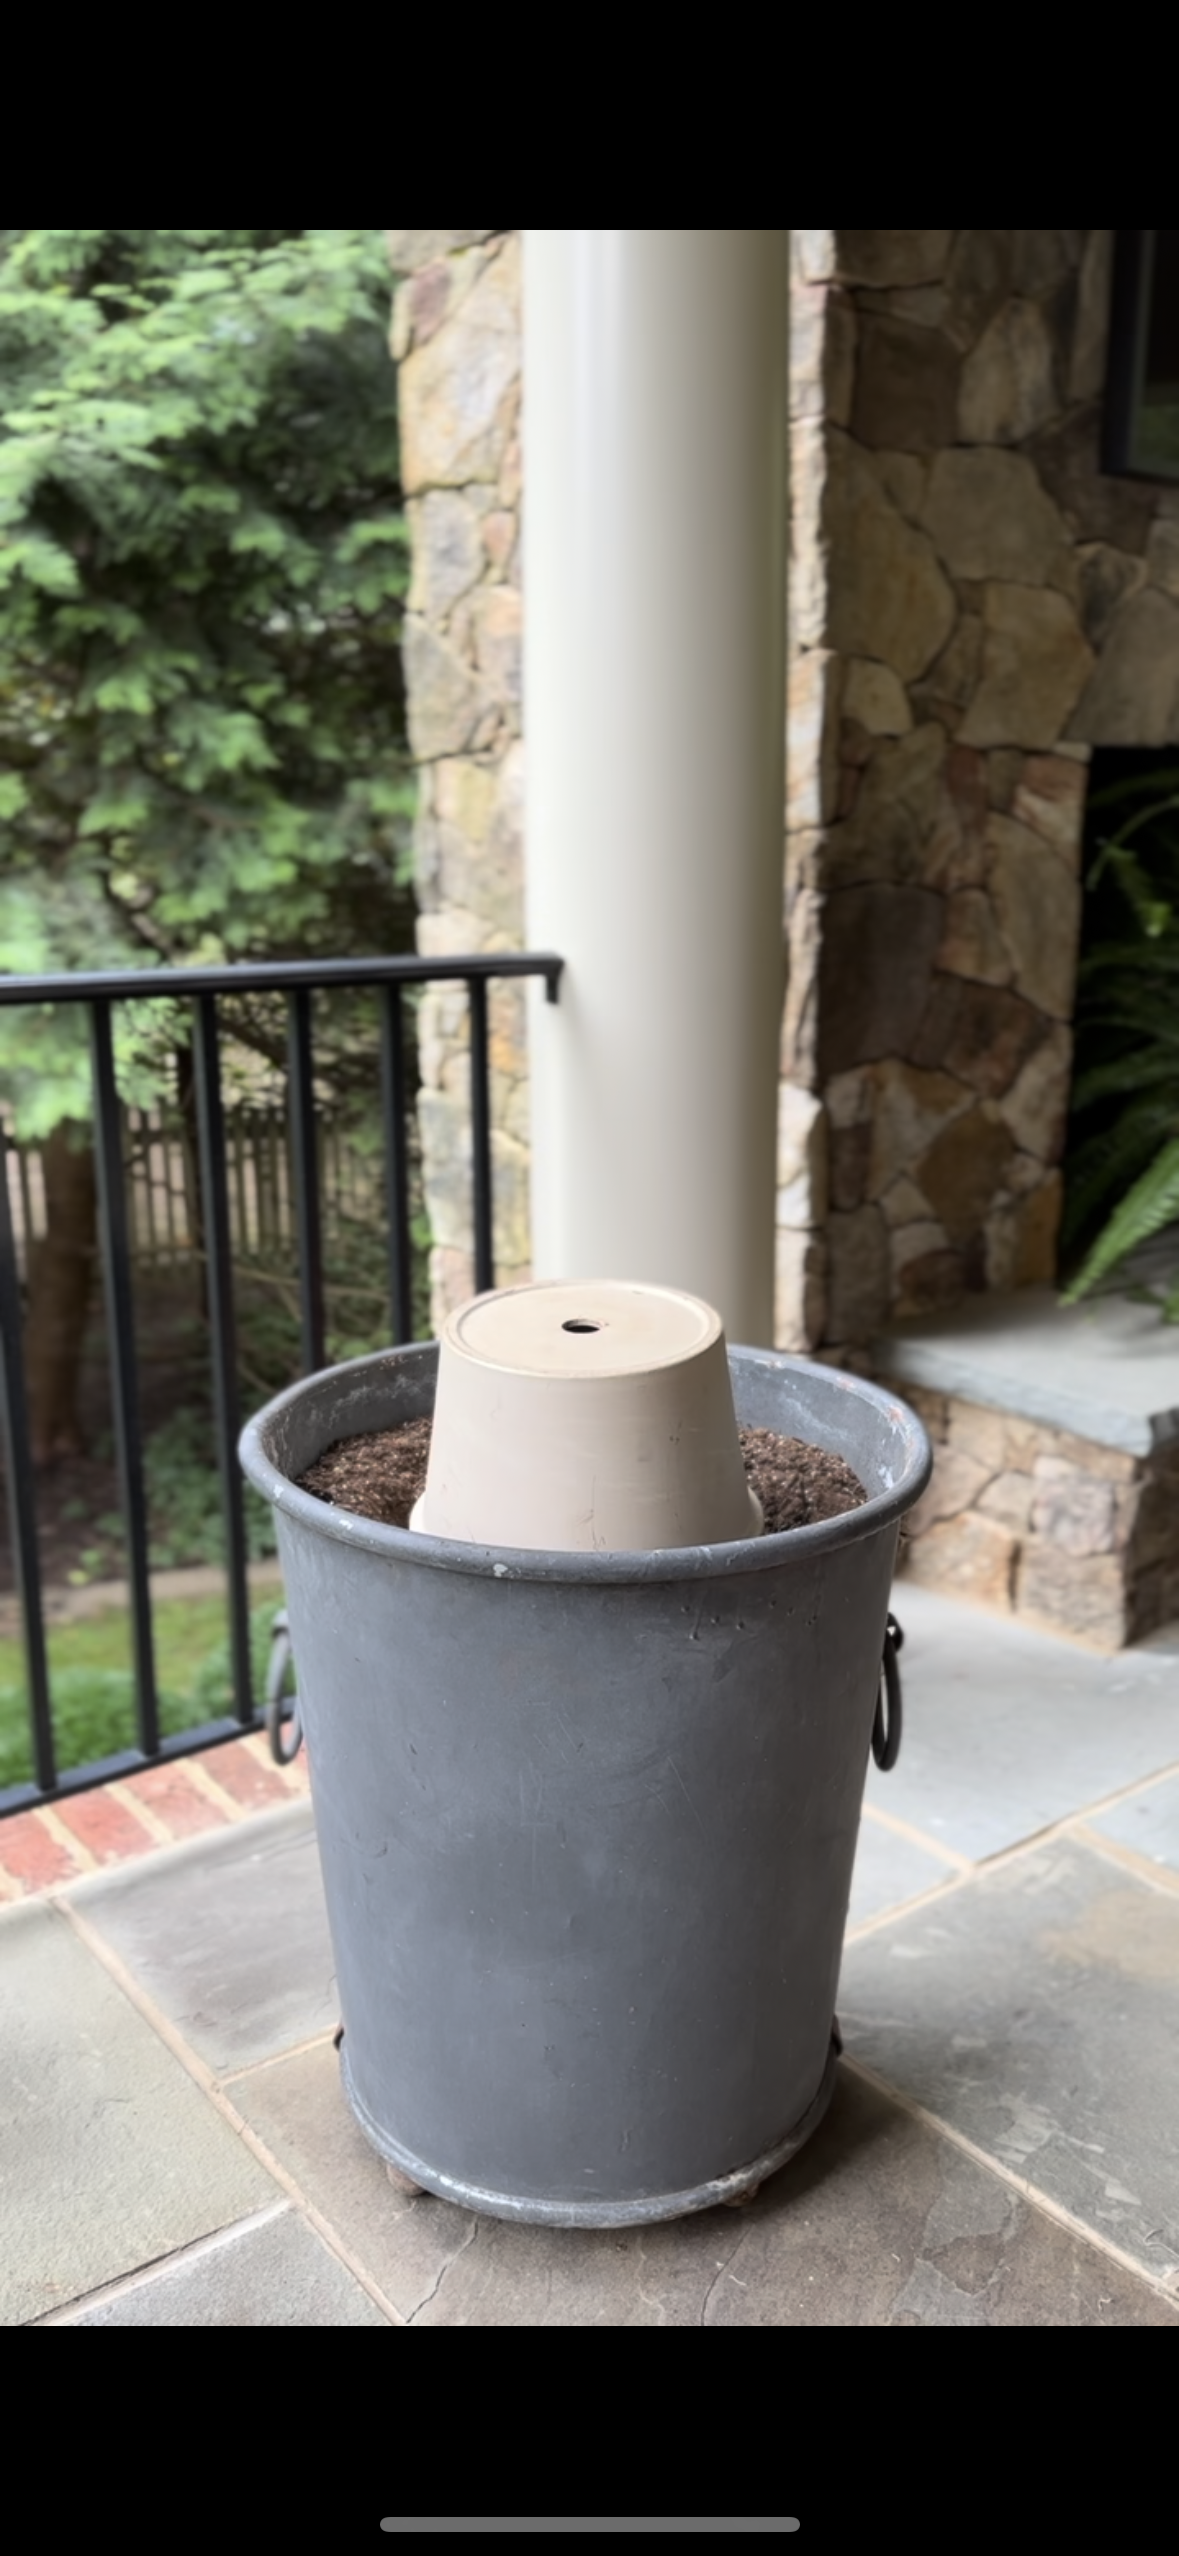
Place an empty pot upside down on top of the POTTING MIX
The empty pot should be smaller than the base planter, but wide enough to be a stable foundation for your bottom pumpkin. The top of the inverted pot should land several inches above the rim of the planter. This will lift your base pumpkin off the potting mix, allowing air to flow and adding height to the display. It will also prevent the bottom pumpkin from smooshing the wreath. See the step-by-step photos below!
Lay a wreath on the rim of your planter
This can be fresh or faux depending on your personal preference and where you plan to put it. I love the look of magnolia at this time of year, but it can be any wreath you like — eucalyptus, grapevine, straw, twigs, berries, etc. NOTE: A live magnolia wreath like the one featured above will last longer if kept out of direct sunlight with minimal rain. A covered porch would be perfect!
The wreath will hide the sides of the inverted pot and act as a nest for your stack, so a thick style is best. Make sure your wreath is wide enough to reach over the edges of your planter. This planter is 20” in diameter and my live wreath, from Weston Farms, is 28”. Live magnolia wreaths like this one will dry in a few weeks, but it happens gradually and I love the soft sage and brown tones that emerge. If this isn’t your vibe, I recommend an artificial wreath labeled for use in your personal environment.
stack remaining pumpkins
Stack two more pumpkins on top of the bottom pumpkin. The flatter the pumpkins, the more stable your stack will be. Rotate each one until it rests snuggly on the one beneath it. If necessary, you can remove stems that are preventing the pumpkins from nesting securely.
Add moss as a finishing touch
Lastly, add dried or fresh moss to fill the gaps between pumpkins. This is mostly for aesthetic purposes, but it does help reduce wobbling. I’ve used Spanish moss here, but sphagnum, reindeer, or green sheet moss would all work well.
FINAL THOUGHTS
I get tons of questions about how to add color and height to Fall containers in deep shade, and a pumpkin stack is the perfect solution! You can’t beat the instant pop of color and there’s an incredible variety of heirloom pumpkins to choose from. Try a vibrant tower of tomato red, yellow, and peach…or a more subdued palette of white, green, and gray. The height of your stack is only limited by the size of your base planter and the size of your pumpkins, so go as high as you like as long as everything feels stable. Minimal exposure to moisture will help your pumpkins and wreath last longer, so this approach is ideal for a covered or protected area.
Have a question or idea to share? Please leave a comment below!
Happy Spooky Season!
Steph
PS: I may receive a small commission from some of the products linked in this post at no additional cost to you. I appreciate your support!


