5 Tips for Watering Container Gardens
The calendar says it’s officially Summer and by now you’ve probably created your best, most promising container gardens yet. So what’s next? Watering! In truth, I’m laughing as I write this because it’s been raining here in Richmond for days and the last thing on my mind is watering. Nevertheless, other parts of the country are experiencing record high temperatures and I’m sure the sun will eventually reappear here. We can all use these reminders when the time comes to care for our Summer container gardens.
Here are 5 watering tips to help you get the most out of those beautiful arrangements:
#1 Check soil before watering
Before you add water, check the soil in your pots by sticking your finger in about 2 inches deep. For most container plantings, you want the soil to feel evenly moist, like a “wrung-out sponge”. (I learned that phrase from my friend Susan of Thistle Containers and now I use it all the time. Thank you, Susan!) Only water if the dirt feels on the dry side. Do NOT water if the soil is already moist, and if the soil feels extra wet and soupy, check to make sure your drainage hole isn’t clogged.
Be consistent. Check the soil daily and you’ll begin to get a sense for the amount and frequency of watering your plants need to thrive.
It’s also a good idea to notice how your plants are behaving. If they look wilted and faded in color, that’s usually a sign they need more water than they’re getting.
#2 Water in the morning
Morning is the best time to water. Let me say that again: Morning is the best time to water. Plants are relaxed from the cool evening and their roots are ready to absorb plenty of water to help them photosynthesize (make their own food) and grow throughout the day. Yes, it’s okay to water in the middle of the day, but if it’s hot and sunny, the water you apply may evaporate before the roots can absorb enough. So that wastes water and your time. On the flip side, avoid watering in the evening because excess water may not get fully absorbed or have enough time to evaporate, which can lead to root rot, fungus, and insects.
#3 Hit the dirt
Your plants absorb water through their roots, which live beneath the dirt. Target your watering can, hose sprayer, or drip lines at the dirt. Don’t bother showering the foliage and flowers to mimic rain because water rarely gets to the roots that way.
#4 Low and slow
If you use a hose sprayer, select a LOW pressure setting to ensure you don’t wash away dirt or damage your plants. Be patient and take your time to give the roots a chance to absorb the water they need; nobody likes to drink from a fire hose, including your plants. After you’ve given each pot a good drink, stand back and see if water is trickling out the drainage hole. If it is, then the roots have gotten as much water as they can take. Additional water will probably be wasted.
PLEASE NOTE: If your soil was already parched and dry before you started watering, it may have pulled away from the pot, creating a space for the water you’re adding to run right down the inside of the pot and right out the drainage hole. In this case it does not mean the roots have absorbed what they needed. It does mean you need to water even more, until the dirt becomes evenly moist and settles back against the pot.
#5 Gear up
Having the right gear and a good system for watering all of your container gardens will make the task easier, more enjoyable, and more successful. Here are several options to consider:
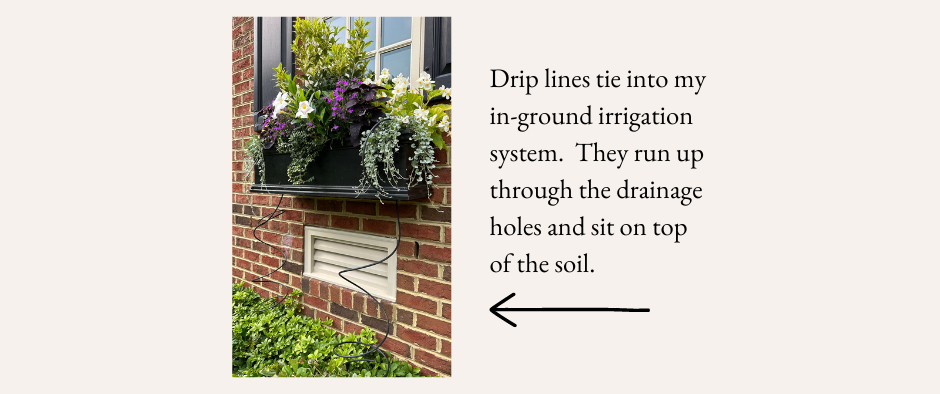
In-ground Drip Irrigation
If you have an existing irrigation system on your property, your irrigation company can probably add drip lines to your planters. These are small black tubes with mini sprinkler heads. They are attached to an automated water source (the closest irrigation pipe that usually runs underground), then tucked into your planters. For the most discreet look, feed them from the bottom of your pots through the drainage hole and up to the top where you can sit the sprinkler head. Or you can simply run the lines from outside the pot and tuck them into the dirt. If you have an available (unused) zone already in your system, added drip lines may cost about $200 per pot. But this can vary by market, service provider, and property. The cost increases if you need to add a zone to your existing system to accommodate the schedule for your pots. It’s worth requesting an estimate if you have the budget.
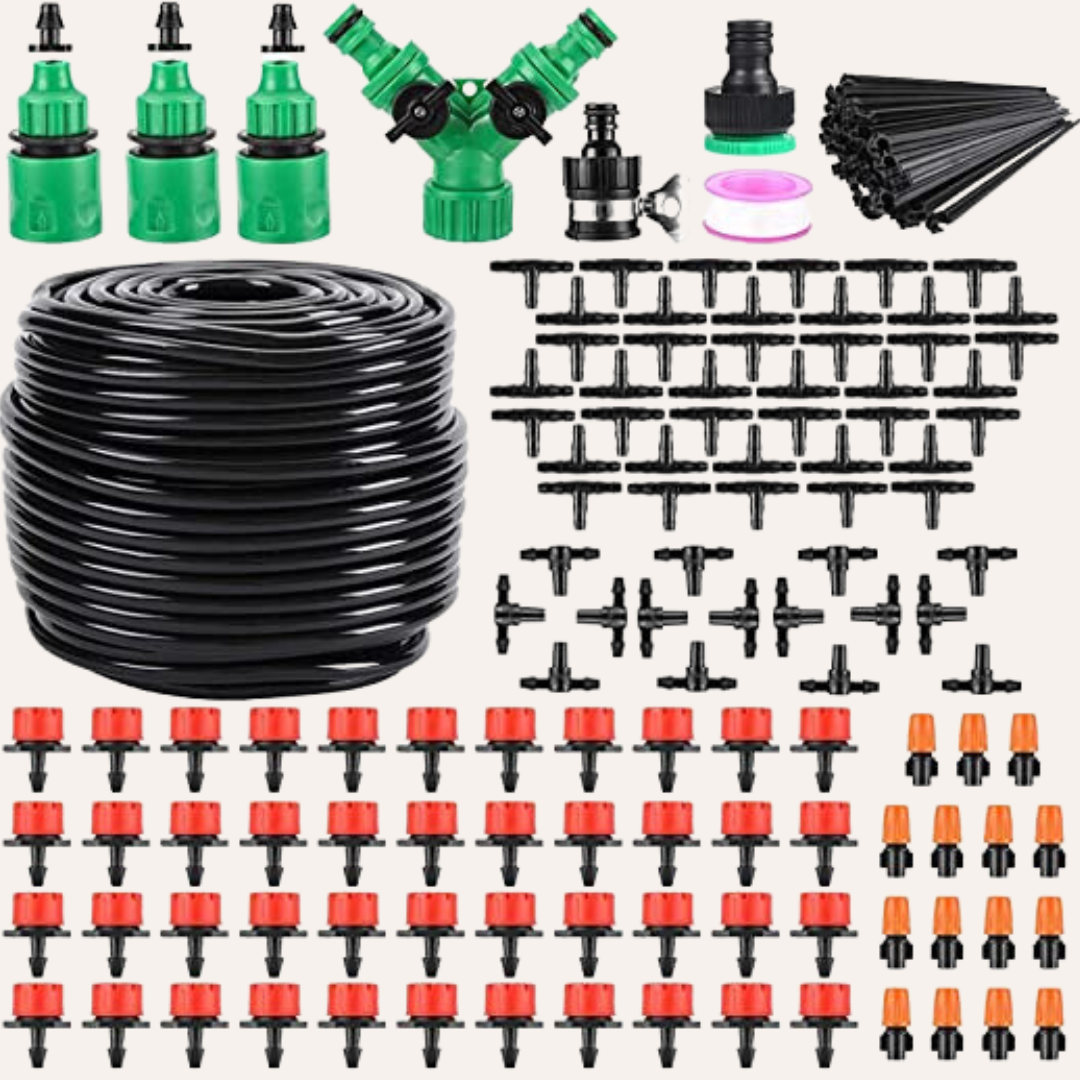
Above Ground Drip Irrigation
If you prefer the DIY route to an automated watering system, you can install a network of 1/4 inch black tubing that branches off from your hose spigot. You’ll need one central tube with shorter pieces of tube that branch off and sit in each of your pots. The central tube can connect to a programmable timer (like this one) that attaches to your hose dial. Once you set the timer and connect your irrigation tubes, you leave the hose dial in the “on” position. Water will be released into your system when the timer allows it.
While this ties up a spigot and may be slightly less discreet than the professionally installed ground-based drip lines, it’s a great solution at a smaller price point. Timers are fairly inexpensive, ranging from $25 - $50. Combine a timer with an all-inclusive Micro Drip Irrigation Kit to automate all of your container gardening watering for less than $90!

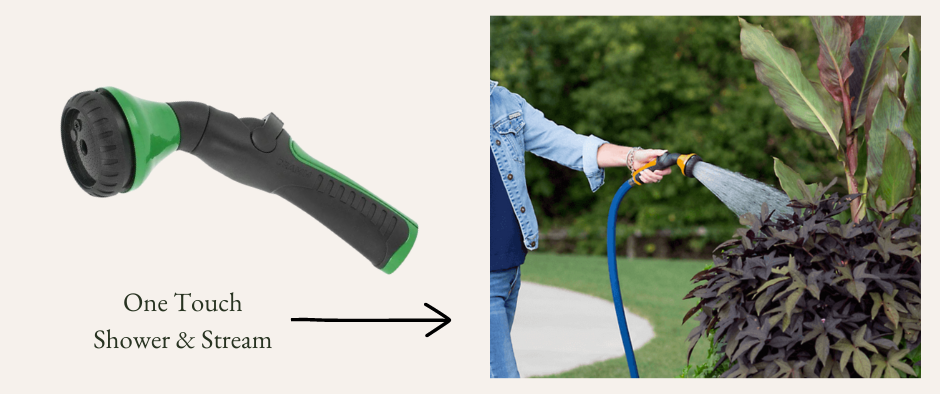
Handheld Sprayers
I say this all the time, but my favorite handheld sprayer is still the Dramm One Touch Shower and Stream. It’s simple with only two settings, which are really the only setting container gardeners need: shower for watering plants and stream for cleaning up. You set the water flow with your thumb by sliding a lever, then let go and the spray continues. No squeezing! The Stream setting is nice and powerful to rinse stubborn dirt, pollen, and yard debris from your space.
The Dramm sprayers are engineered to release water in a full flow, yet gentle shower. So they disperse water gently and slowly enough for plants to absorb, but with plenty of volume so it doesn’t take that long. And you won’t waste time turning the dial between Spray, Mist, Jet, Stream, Full, etc. Who needs all of those options?
If you have lots of hanging baskets and window boxes, try Dramm’s 36” Classic Hanging Basket Rain Wand. It offers the same full flow, gentle shower, but has a longer reach and an arched neck for directing water to those hard-to-reach places.

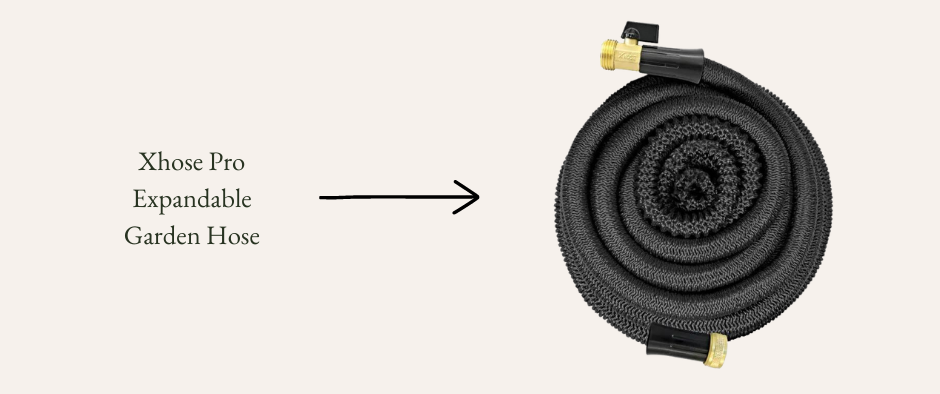
Expandable Garden Hoses
Do yourself a favor and consider a lightweight expandable hose. I’ve used the Xhose Pro for several years and I recommend it to everyone! If you haven’t seen this before, it’s made of a heavy duty gathered fabric that expands when it’s filled with water, and contracts when the water flow stops. It’s very light, easy to maneuver, and compact for storage. The time you save by NOT fighting with a heavy, awkward rubber hose can be spent watering your pots more slowly…and then enjoying them!
A word of caution: Yes, the seams have burst on me before. But I’ve purchased and used many of these for my business and the occurrence is very rare. Plus, we probably didn’t treat them as kindly as we should have. In my opinion, the convenience of allowing me to move through tasks quickly and neatly is worth the small risk.
Plants, particularly Summer annuals, are pretty basic. One of the few things they need is water. Commit to a good watering routine and enjoy the results!
All the best,
Steph
Note: I may receive a commission from some of the products featured here when purchased through my links.